

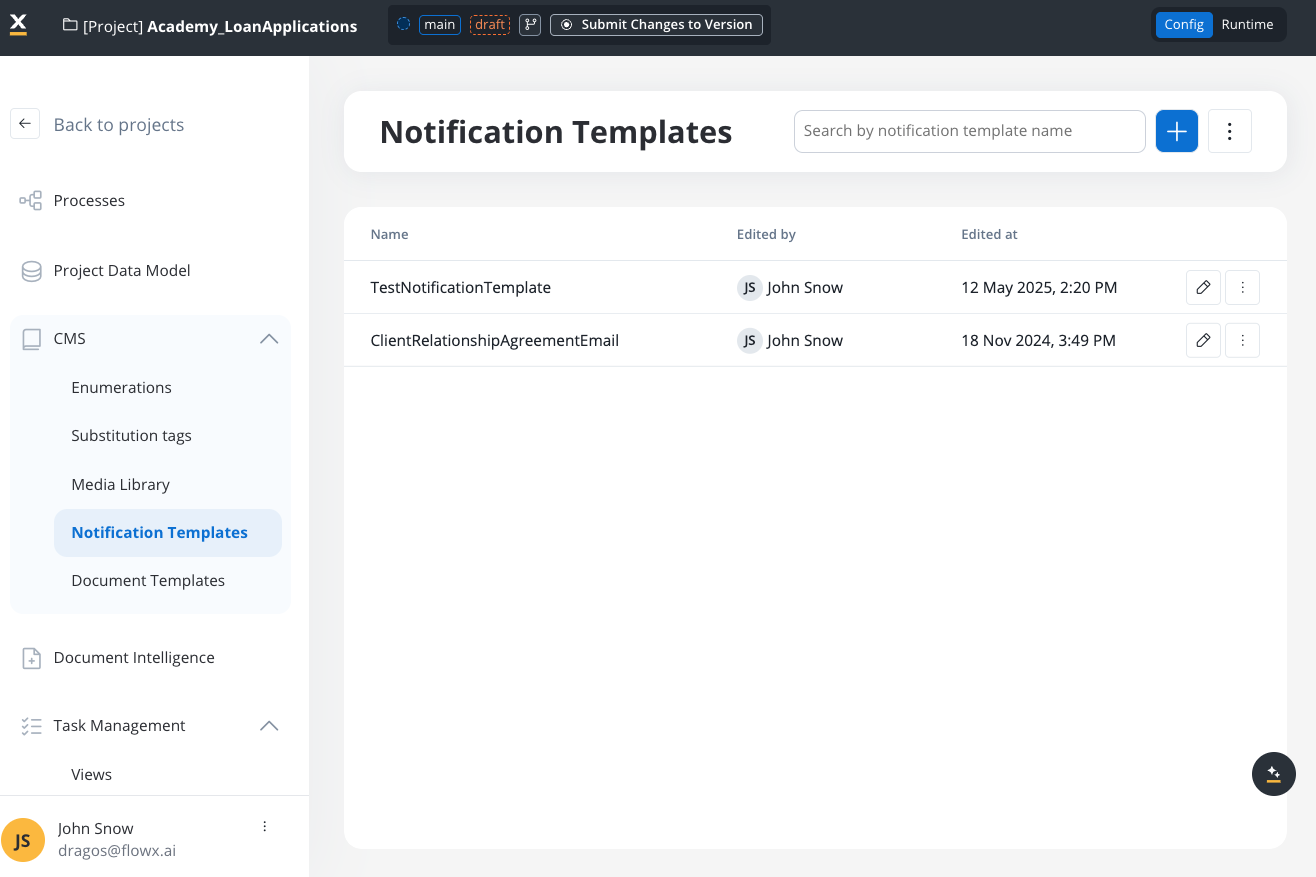
Configuring a template
To configure a notification template, first, you need to select some information stored in the Body:- Type - could be either MAIL or SMS notifications
- Email Server - select the email delivery method (available for MAIL type):
- Predefined Email Connection (default) - send emails directly through a configured SMTP server using the Send Notification action
- Forward on Kafka - forward the notification to Kafka for the Notifications Plugin or an external adapter to handle (this is mandatory for SMS notification templates)
- Email Sender - displayed only when Email Server is set to Predefined Email Connection:
- Default Server (default) - uses the default SMTP connection configured at the environment level
- Or select a specific Email Sender data source configured in Integration Designer
- Language - choose the language for your notification template
- Subject - enter a subject
You can edit the content for each language you have defined in the project.
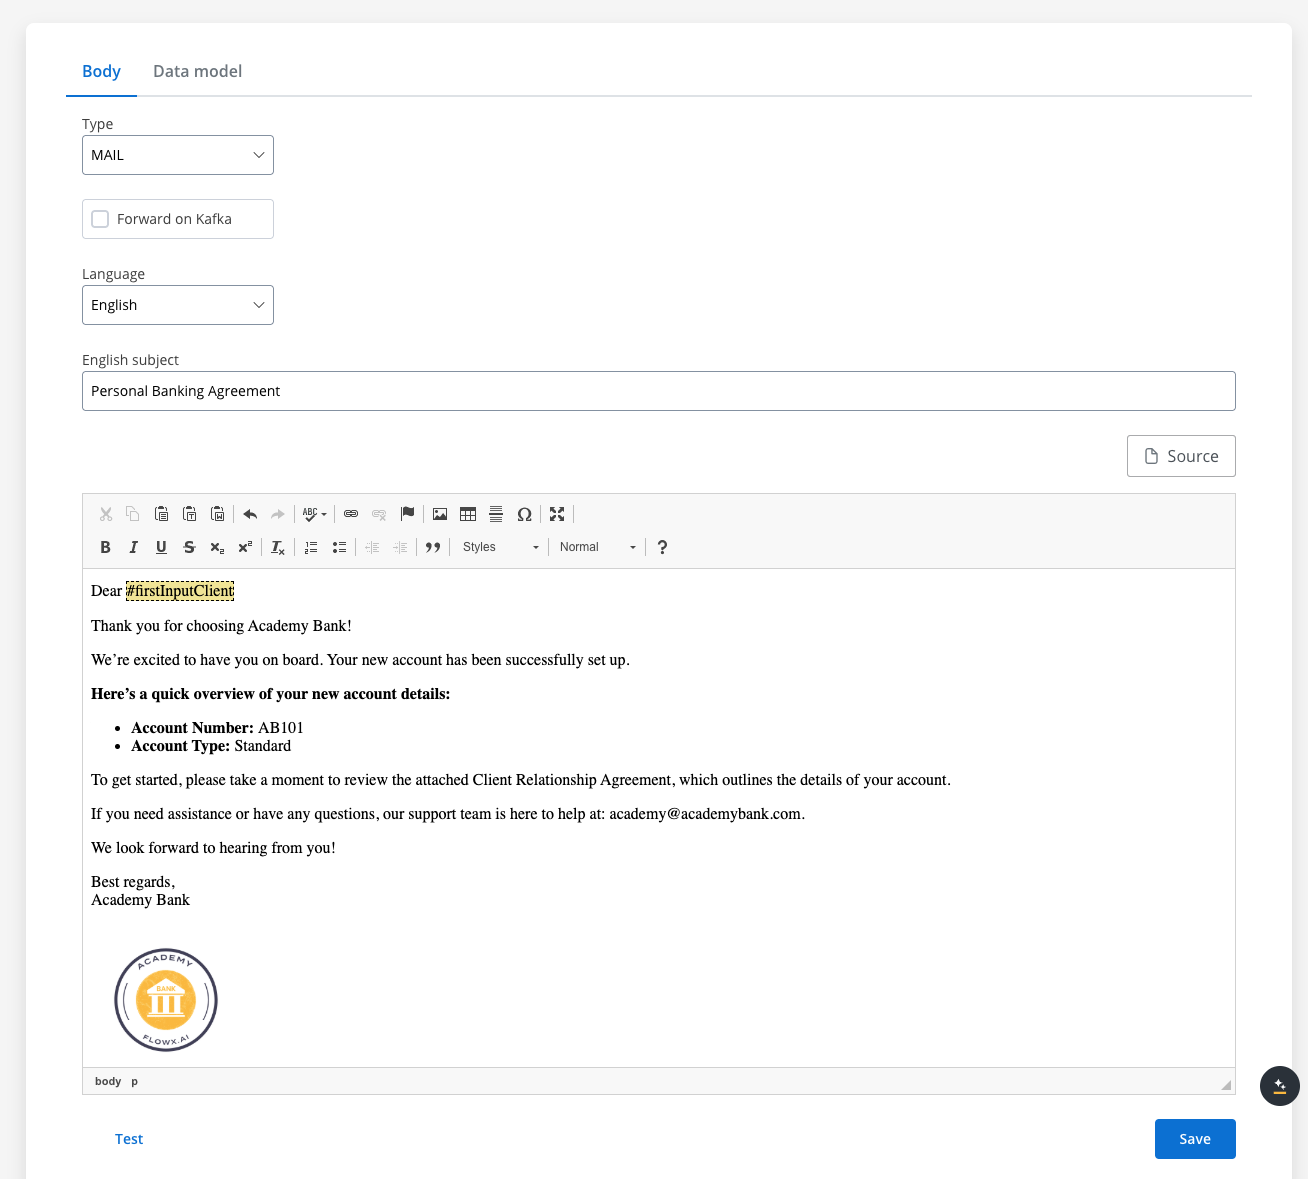
Editing the content
You can edit the content of a notification template by using the WYSIWYG editor embedded in the body of the notification templates body.Configuring the data model
SaaS · 5.11Available on SaaS with FlowX.AI 5.11. This feature is live on managed (SaaS) deployments now. Self-hosted deployments will receive it with the next LTS release family.
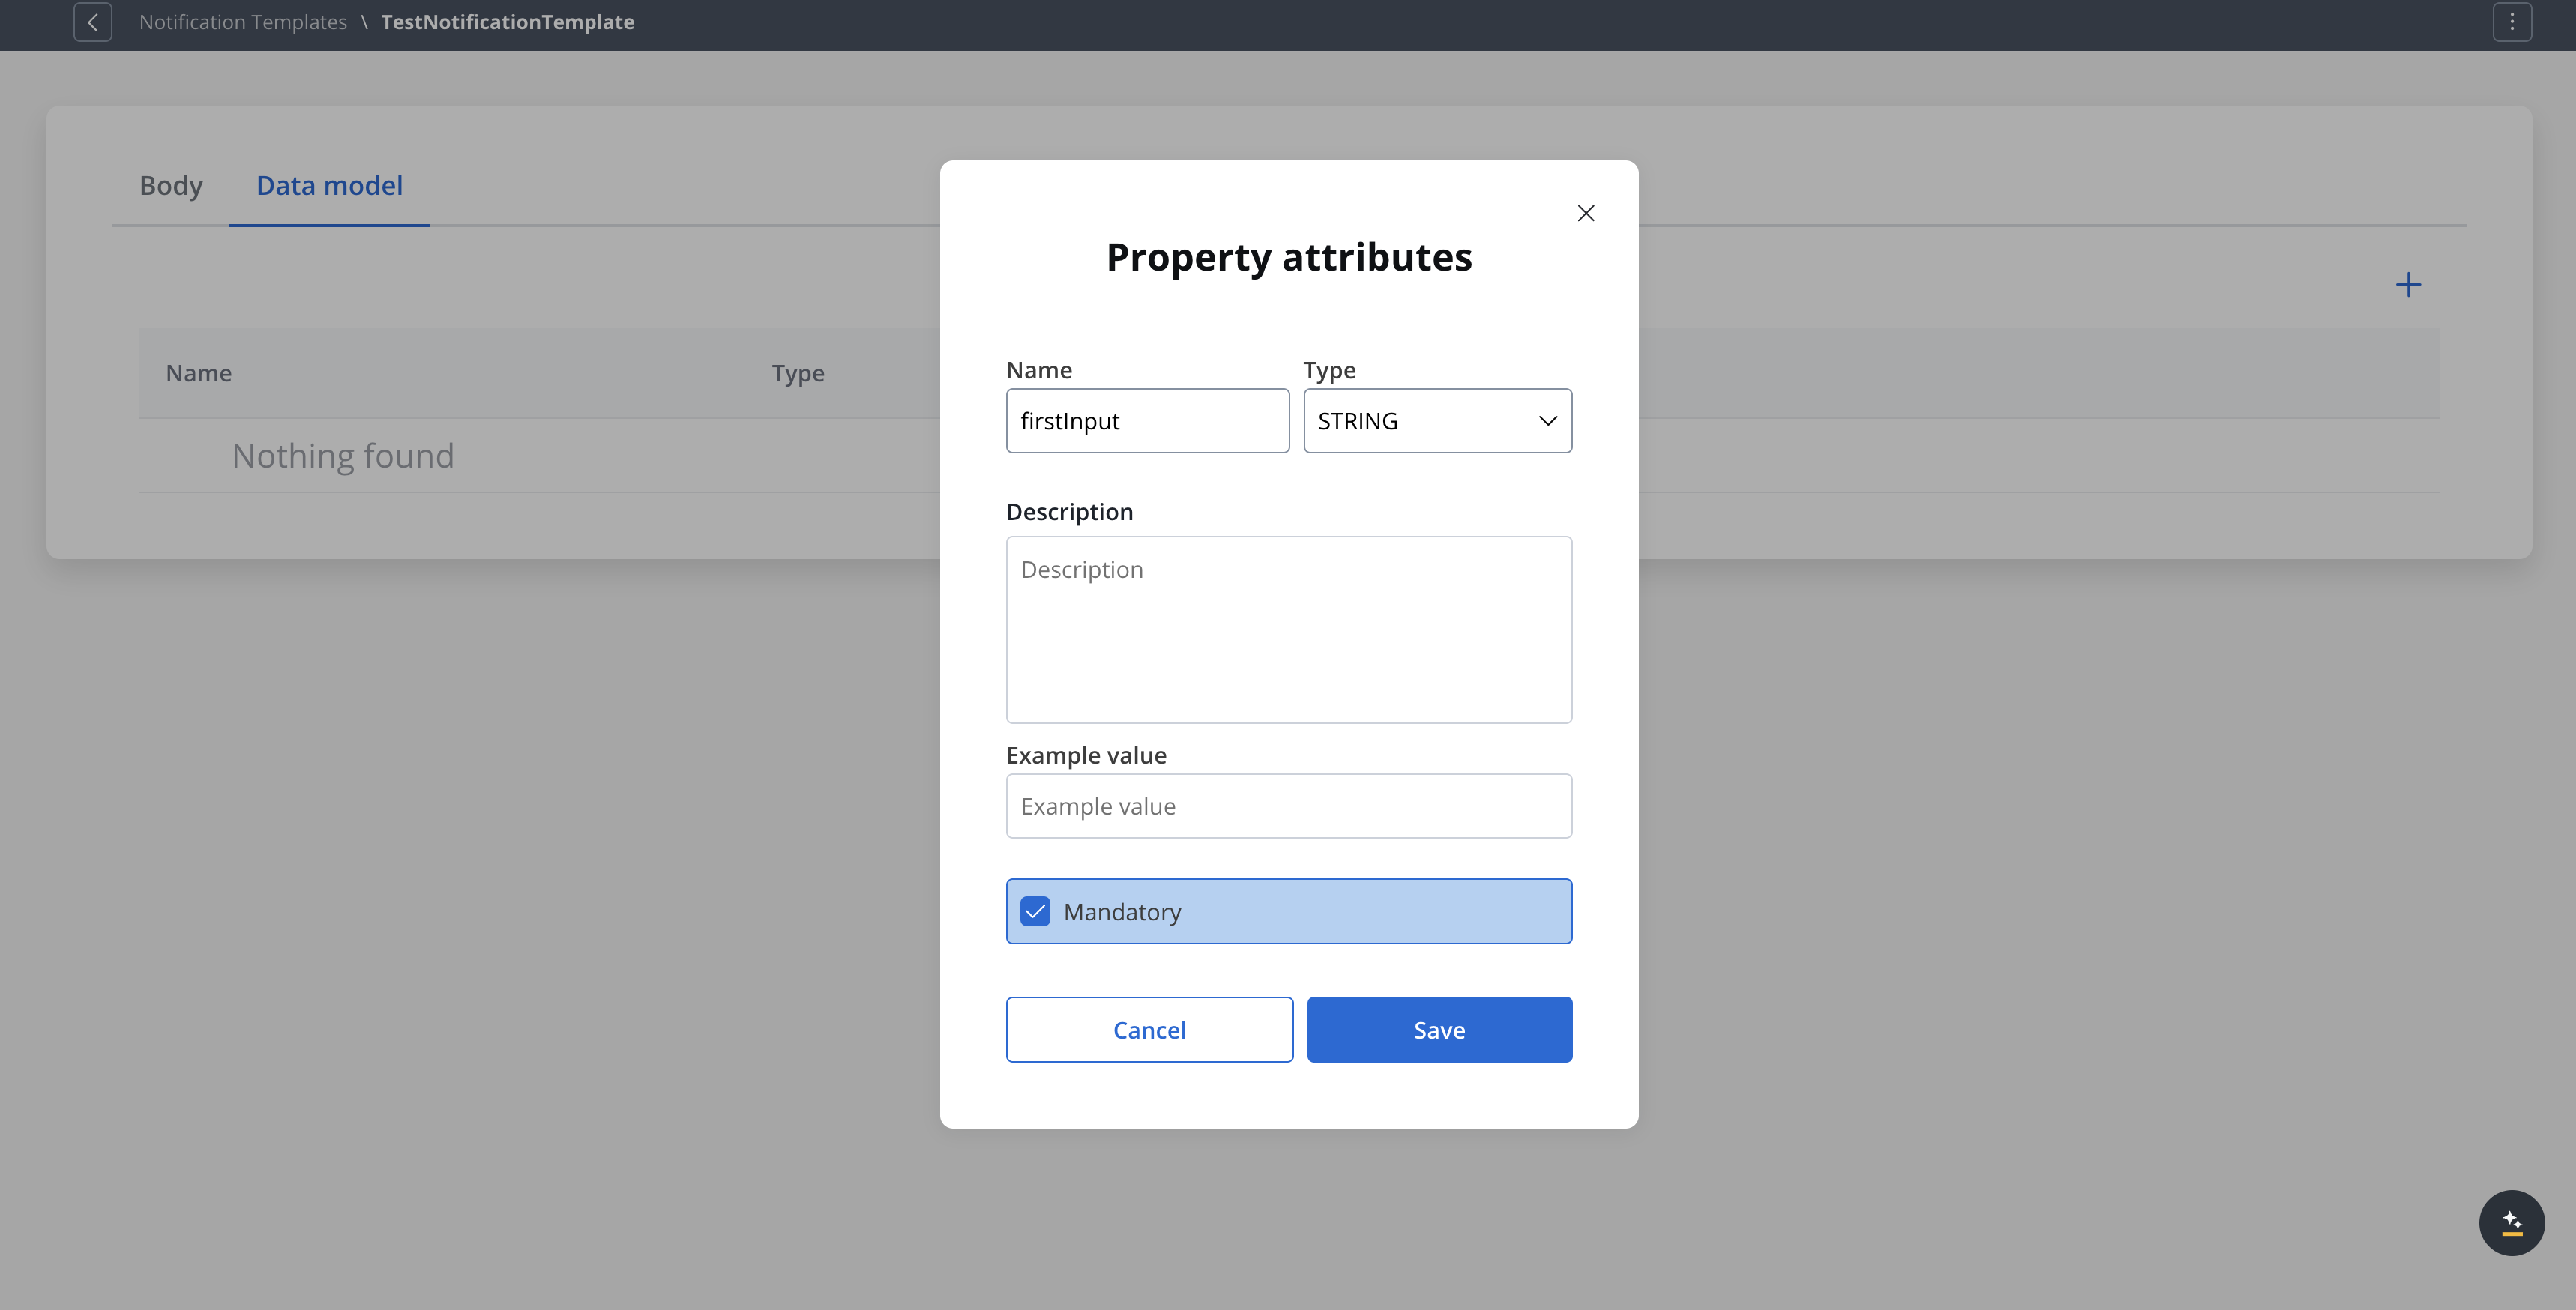
- Add typed attributes. Supported types are String, Number, Boolean, Enum, Date, Currency, New Data type (a nested object you define inline), Existing Data Type (an object you reference), and Array.
- Add validations to an attribute (for example min, max, length, or pattern).
- Mark an attribute as Sensitive data or Use in Reporting.
- Reference data types from the Project Data Model or from a Library, instead of redefining them.
- STRING
- NUMBER
- BOOLEAN
- OBJECT
- OBJECT_REF
- ARRAY
- ARRAY_REF
- ENUM
${customer.firstName} typed into the body is sent as literal text. If you write the body in the Source tab, use the th:text form above, and pass each key in the data object of the send request (see Using dynamic keys).
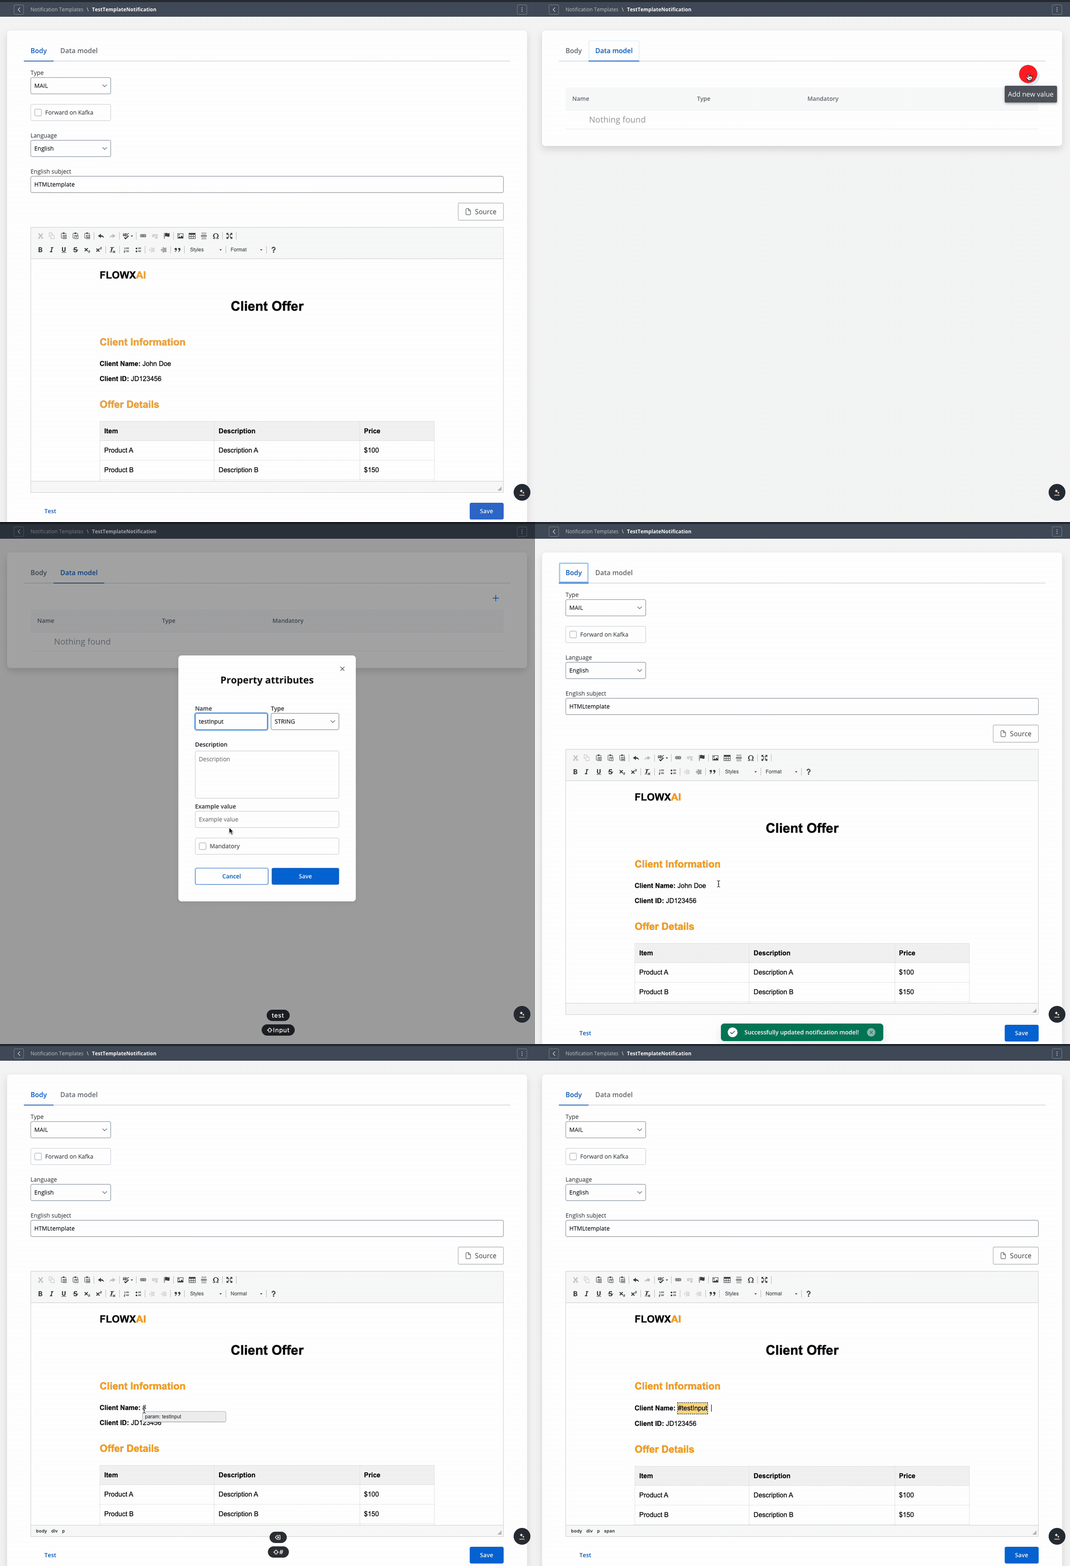
WYSIWYG Editor
Testing the template
You can use the test function to ensure that your template configuration is working as it should before publishing it.- Receivers emails — recipient email addresses for the test
- Language — select the template language to test
- Attachments — upload files to test attachment handling
- Template data — provide values for template variables
- Advanced (hidden section) — Sender Name and Sender Email overrides
Other actions
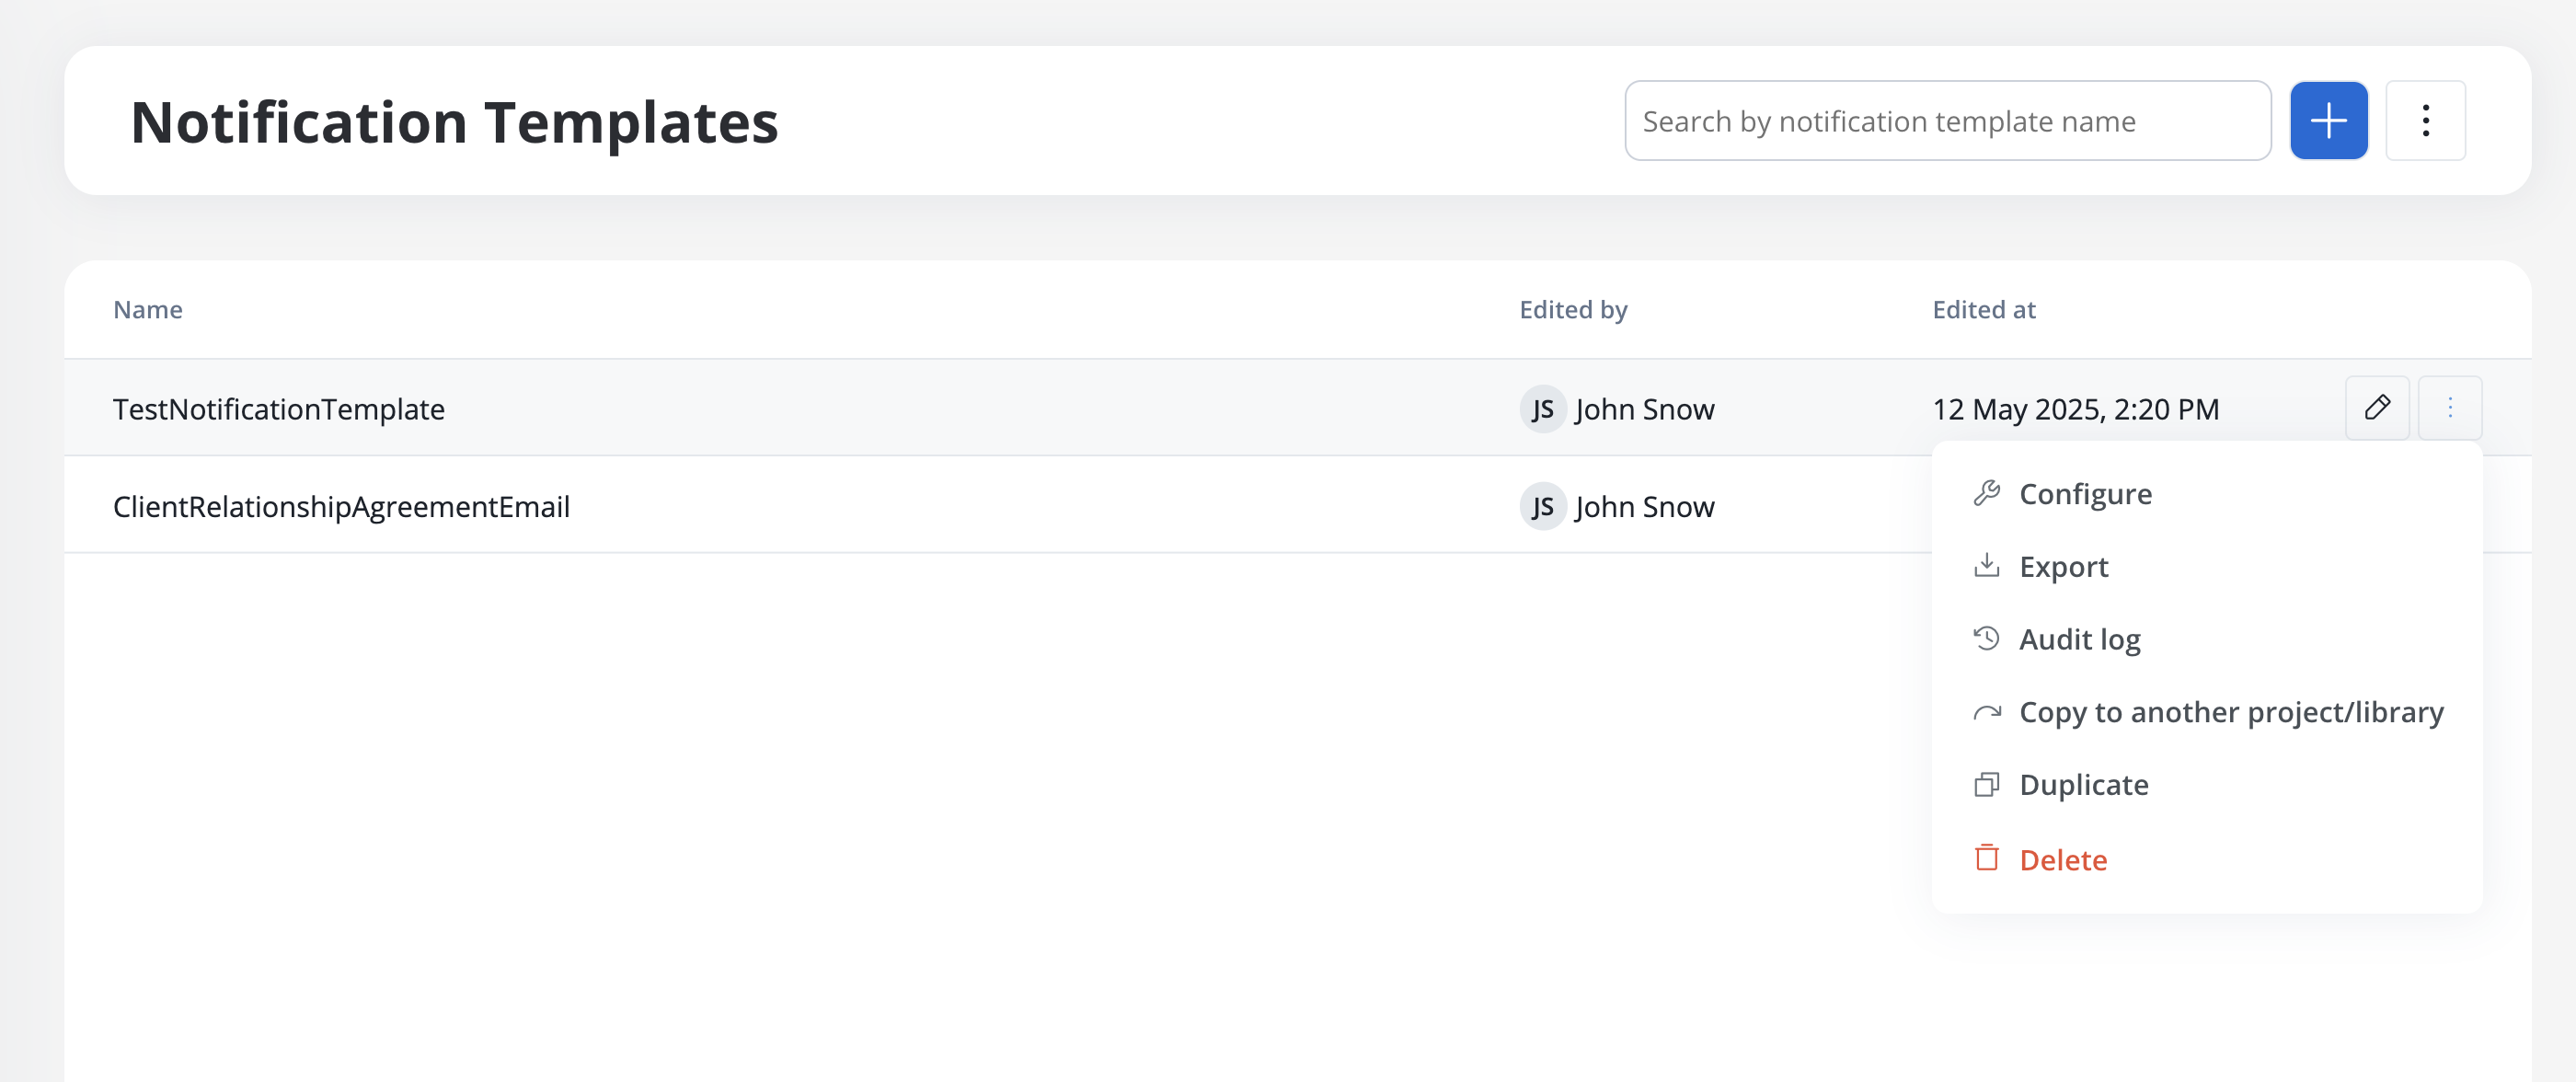
When opening the contextual menu (accessible by clicking on the breadcrumbs button), you have multiple actions to work with the notifications templates:- Configure - edit the template
- Export template - export a template as a ZIP file
- Audit log - view the audit log
- Copy to another project/library - copy a template to another project/library
- Duplicate - duplicate a template
- Delete - delete a template
Export and import
You can export and import notification templates to transfer them between projects or environments (for example, from development to UAT to production).Exporting a template
To export a notification template:- Open the contextual menu (breadcrumbs button) for the template you want to export
- Select Export template
- The template is downloaded as a ZIP file
Importing templates
To import notification templates:- Navigate to the Notification Templates list
- Open the context menu and select Import from ZIP
- Select the ZIP file exported from another project or environment
- If templates with the same identifiers already exist, a Review Resource Identifiers Conflicts modal appears
- Choose a strategy for each conflicting template (or use Apply to all):
- Keep both - imports the template as a new copy alongside the existing one
- Replace - overwrites the existing template with the imported version
- Skip this one - keeps the existing template unchanged
- Click Continue to complete the import
Importing is only available for work-in-progress (WIP) project versions. You cannot import into a committed version.