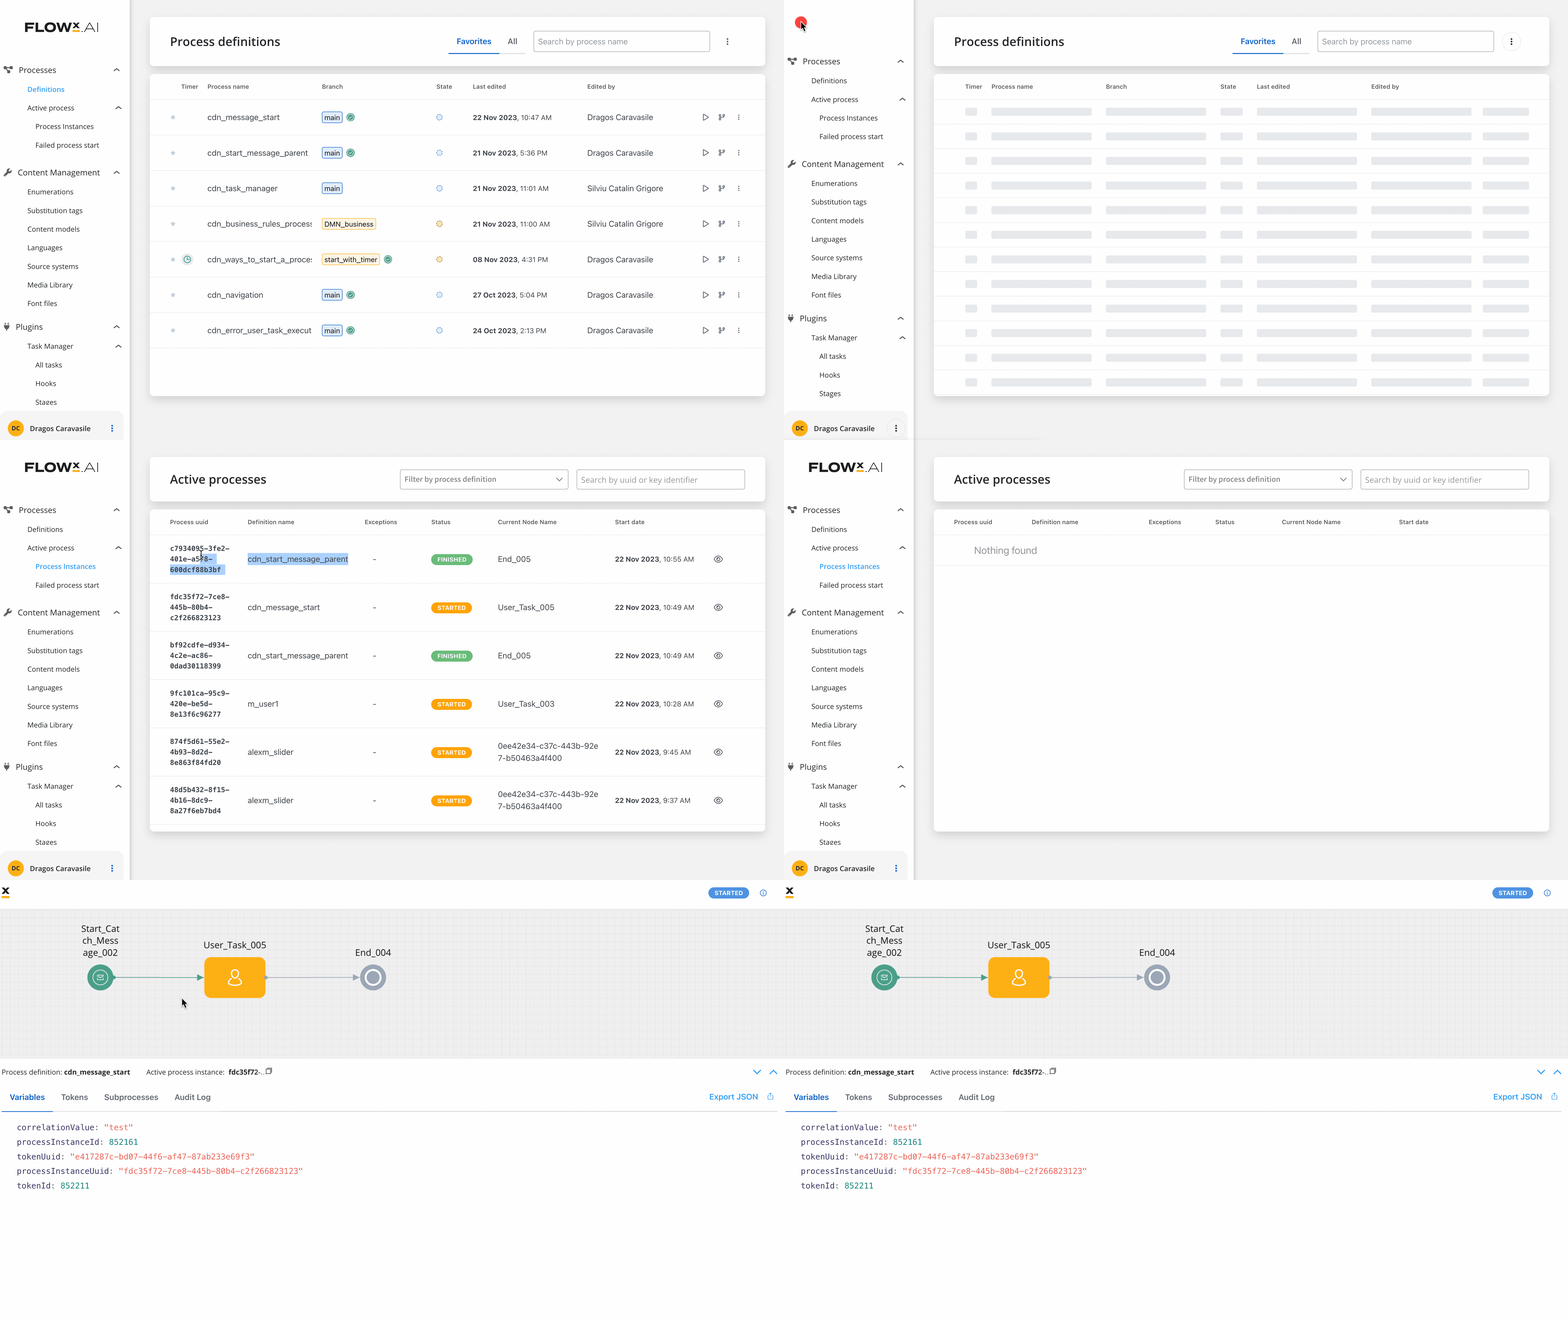
Learn the different methods for starting process instances in FlowX.AI, including user interaction, automated triggers, and system integration options.
Once you’ve designed your process definitions, you’ll need to know how to start process instances. FlowX.AI provides multiple ways to initiate processes, from manual user-triggered starts to fully automated system-initiated flows.
User Interface
The most common way to start processes through user interaction
Kafka Messages
Start processes through Kafka events from other systems
Timer Events
Schedule processes to start automatically at specific times
Message Events
Trigger processes through message events from other processes
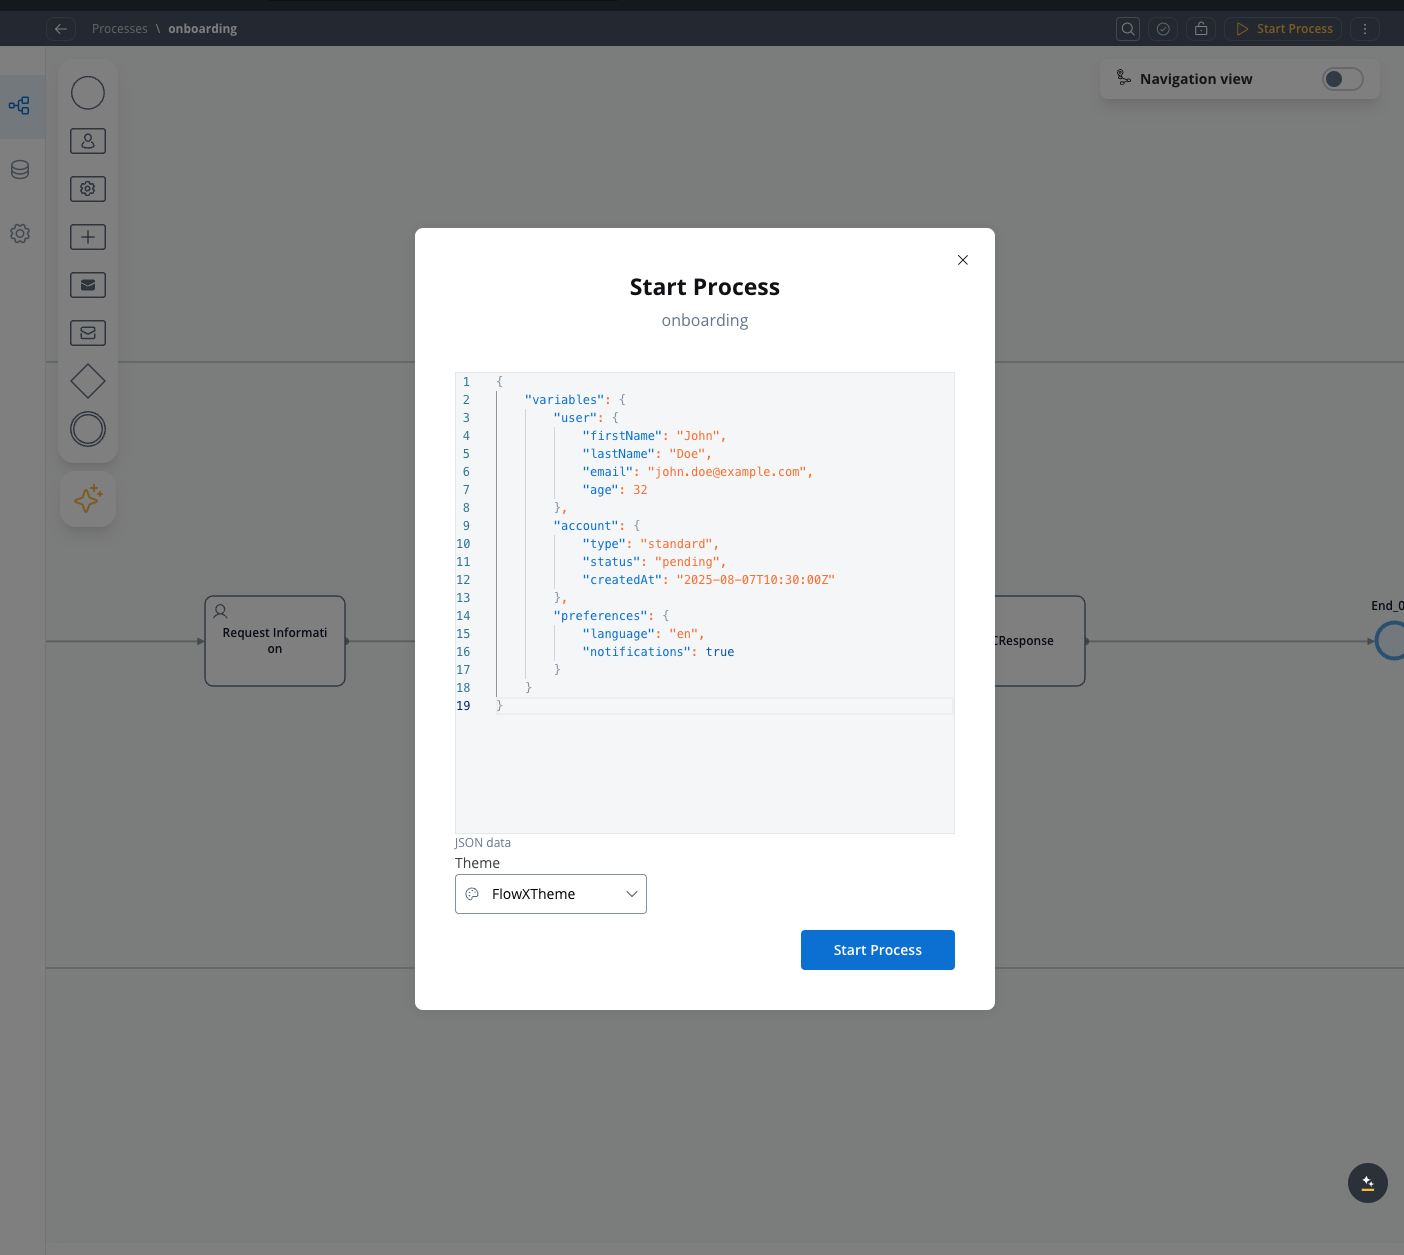
Manual Start using start parameters (JSON data) are limited to 1MB
When starting a process manually via the FlowX Designer UI, you’ll be prompted to enter a JSON payload (in the “JSON Object” editor). This is subject to the same infrastructure limits as any other process start.
One of the most effective ways to initiate processes is through Kafka messaging, which allows systems to communicate and trigger processes without direct user interaction.
1
Access Your Project
Open FlowX.AI Designer and navigate to your project
Select an existing process definition or create a new one that will send the Kafka message
2
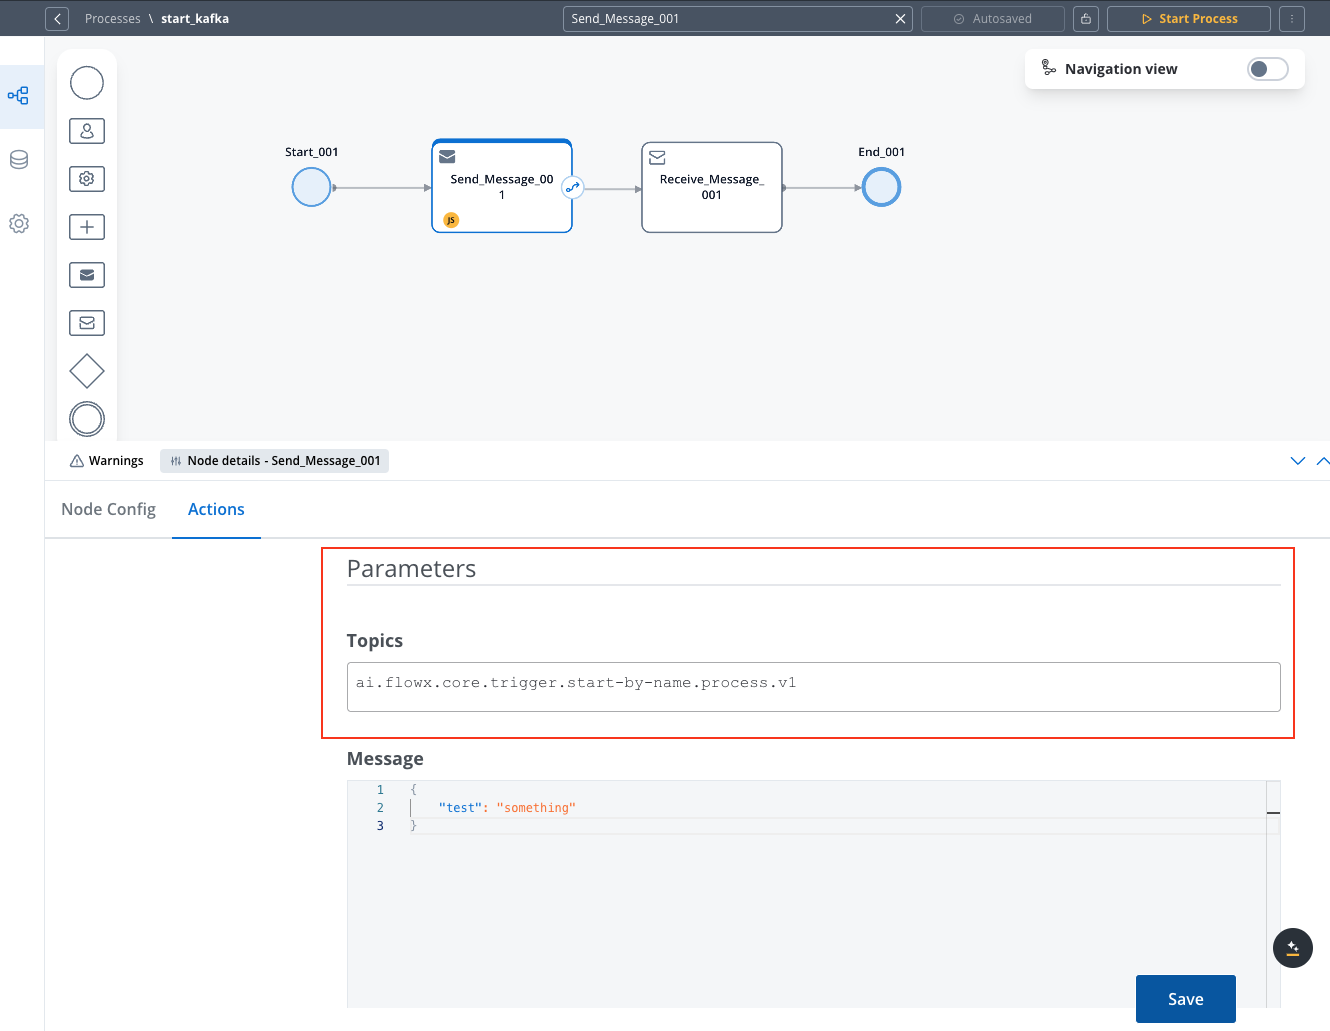
Add a Send Message Task
Add a Send Message Task node to your process flow
Attach a Kafka Send Action to this node
This task will send the message that initiates another process. You can place it at any appropriate point in your process flow.
3
Configure the Kafka Topic
In the Kafka Send Action configuration, specify the topic linked to the KAFKA_TOPIC_PROCESS_START_BY_NAME environment variable
This variable is shared between the application-manager and runtime-manager deployments
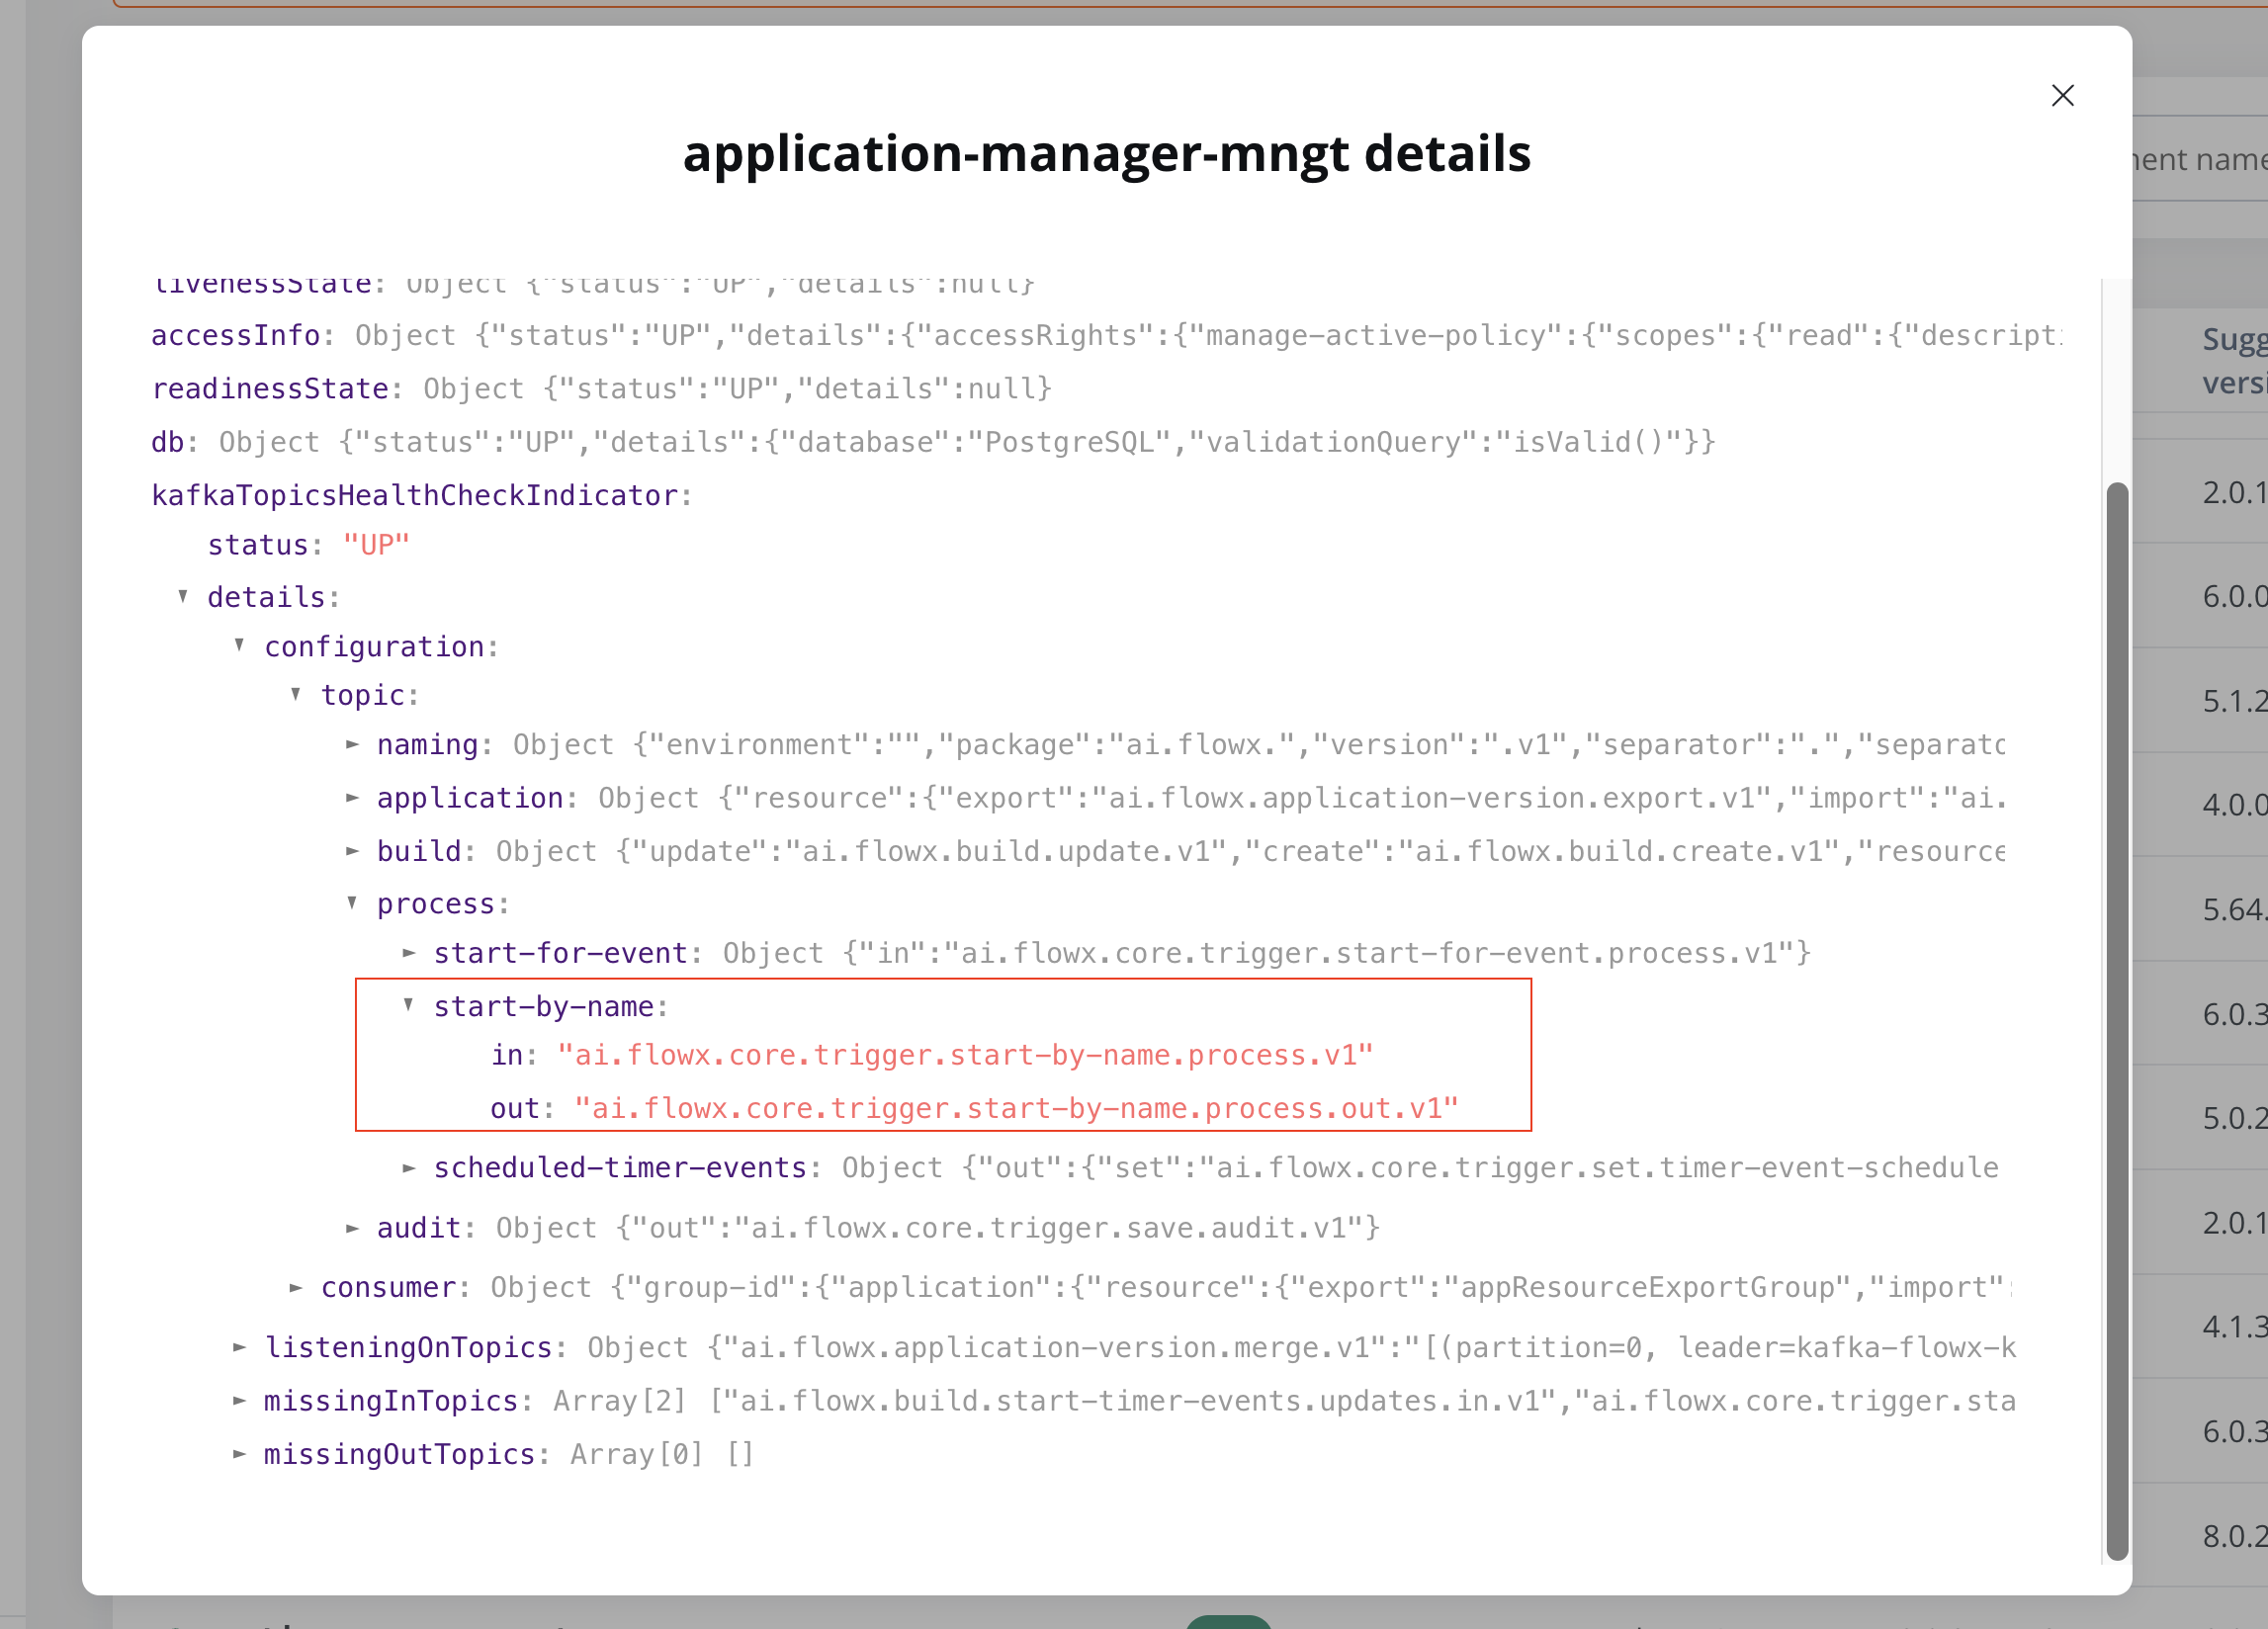
Process Start Topic Configuration
To verify the topic in FlowX Designer, navigate to: Platform status → FlowX Components → application-manager-mngt -> kafkaTopicHealthCheckIndicator → details → configuration → topic → process → start-by-name
Topic Verification
4
Add Message Content
Add any required data in the message body that should be passed to the new process:
{"test": "something"}
This data will be available to the process being started, providing it with initial context or parameters.
5
Respect Payload Size Limits
Payload Size Must Be Under 1MB: All Kafka-triggered process starts go through the runtime HTTP API, which enforces strict 1MB payload limits.
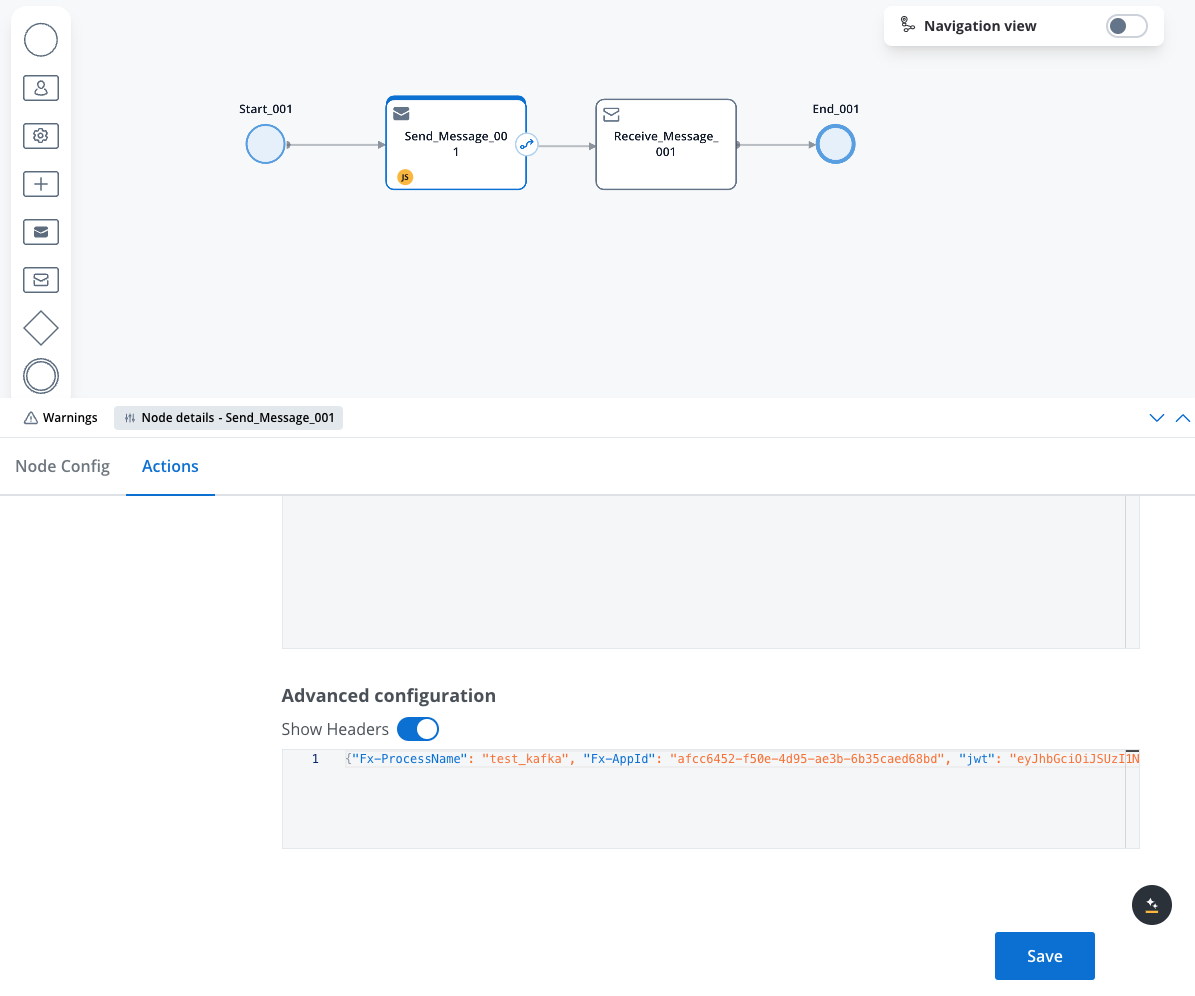
Don’t know where to find these values? Check the Finding Identifiers and Parameters guide for step-by-step instructions on locating Application IDs, Process Names, JWT tokens, and more.
Without an active policy and proper authentication, the process may not start even if the Kafka message is correctly configured.
Planning to upgrade to 5.9 LTS?5.9.0 adds Fx-Organization-Id as a mandatory header on every Kafka message. Messages without it are rejected with a non-retryable MissingKafkaHeaderException. Review the Migrating from 5.1 LTS guide before upgrading.
7
Test and Monitor
Run your process to send the Kafka message
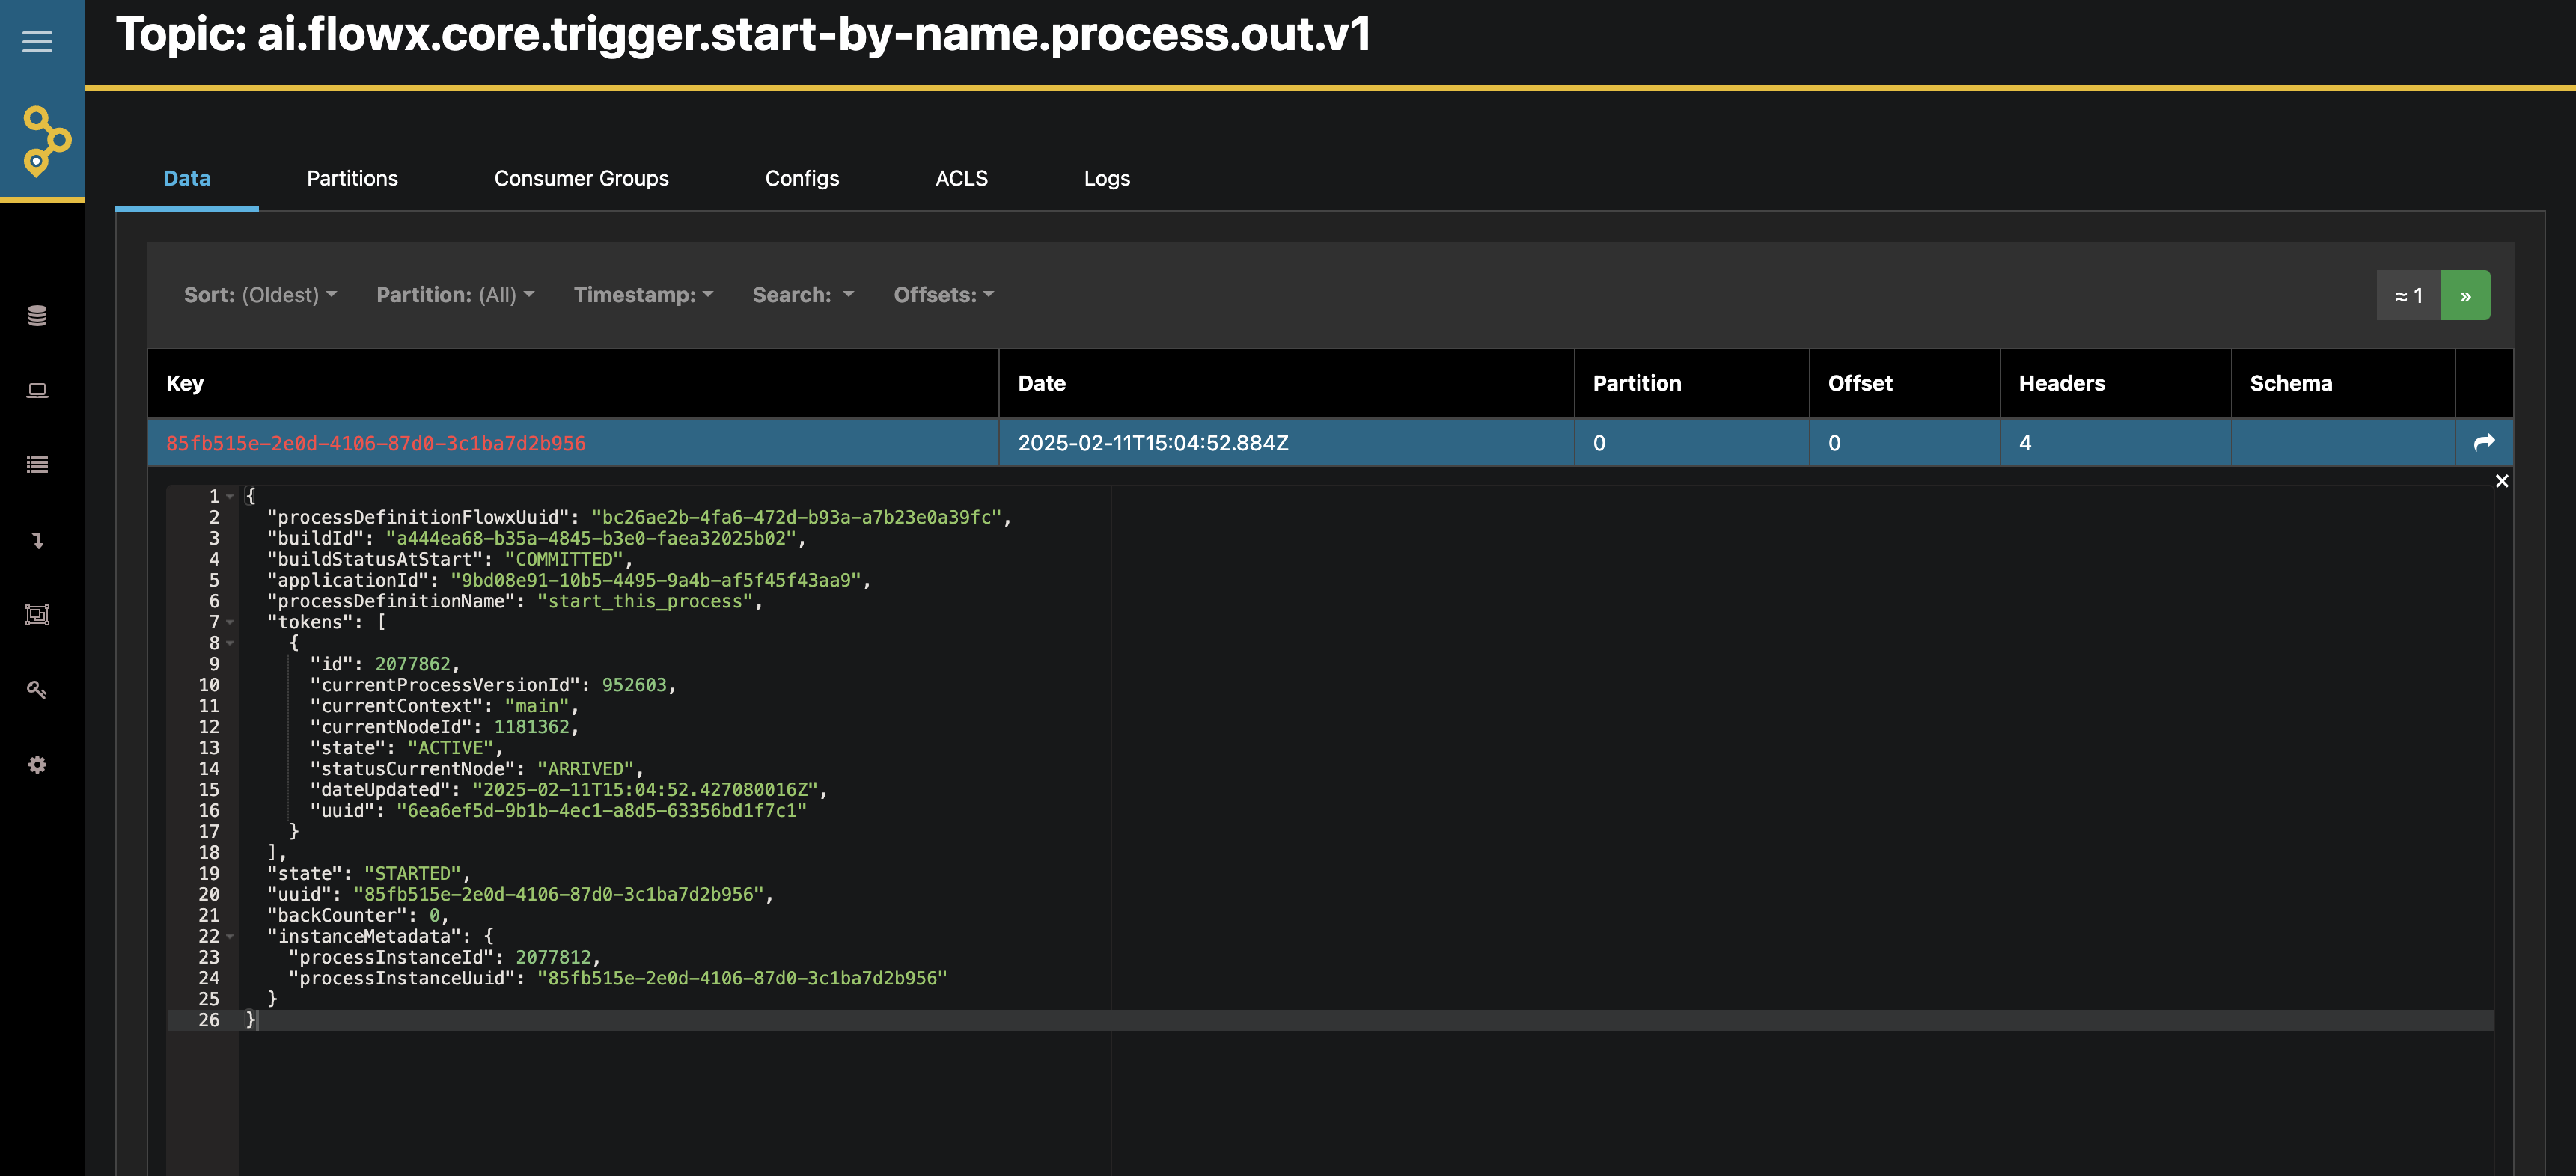
To monitor the results, you can use tools like AKHQ to check the response on the KAFKA_TOPIC_PROCESS_START_BY_NAME_OUT topic
Timer Start Events allow you to schedule processes to start automatically at defined times or intervals, enabling automated workflows without manual intervention.
1
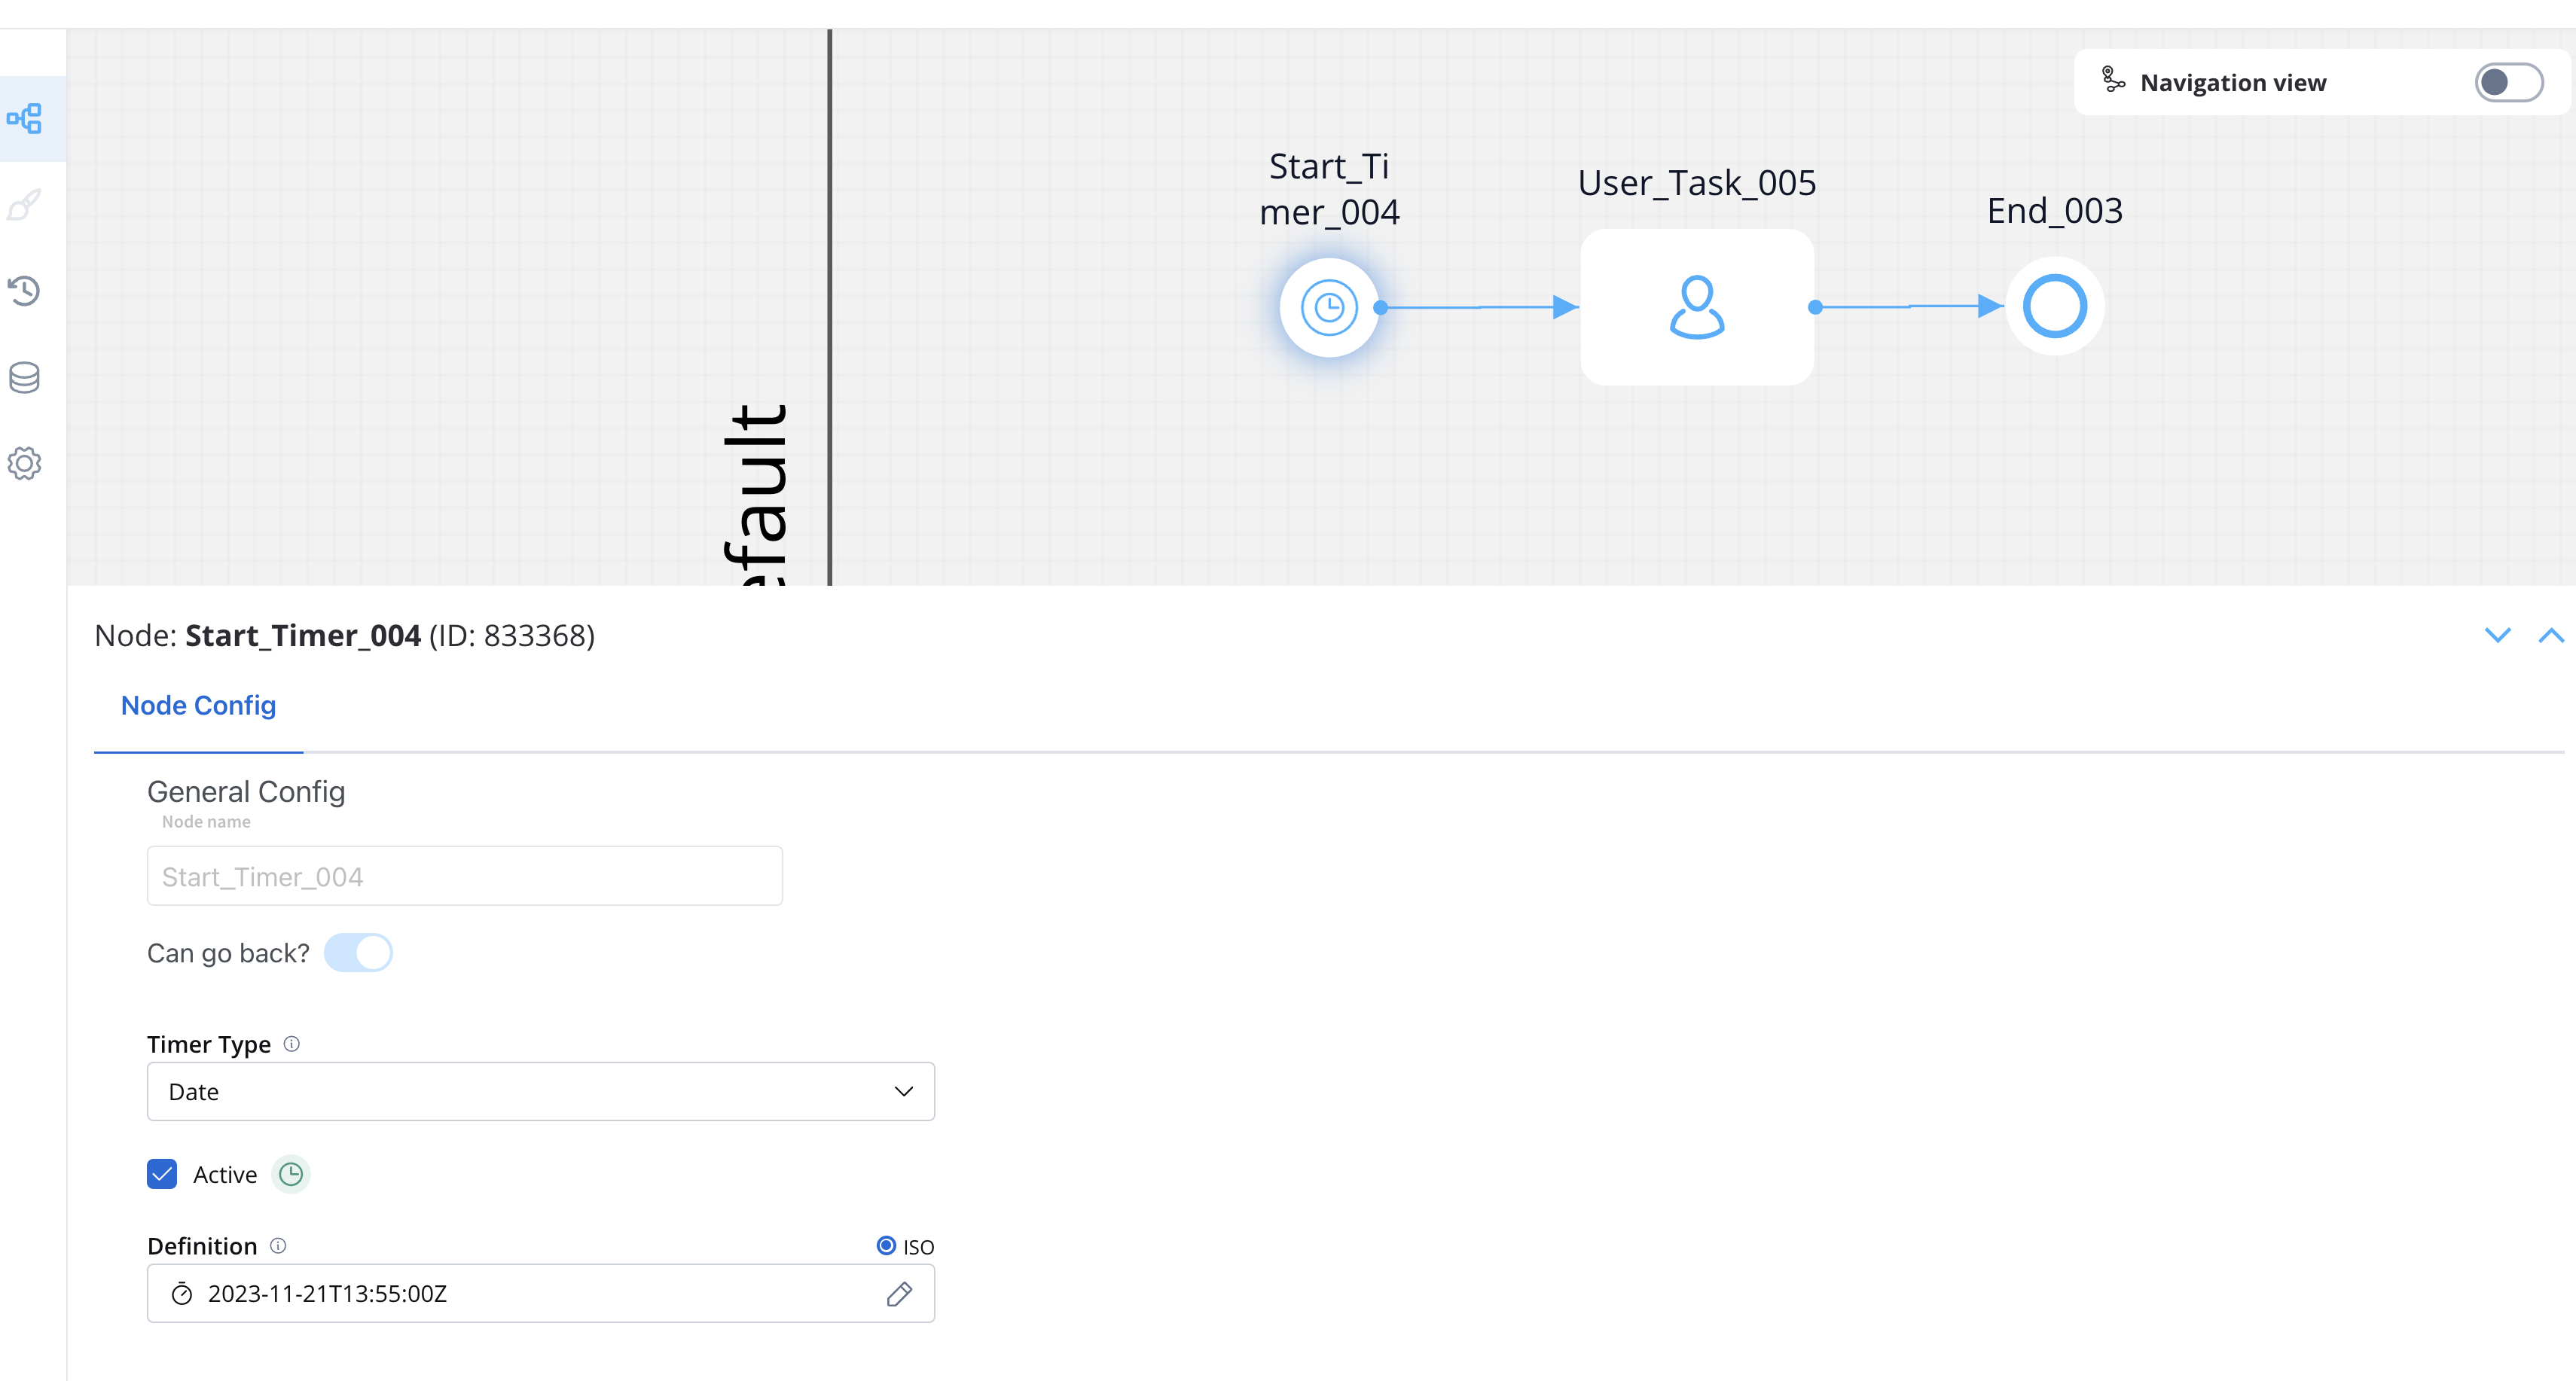
Configure a Process with Timer Start
Open FlowX.AI Designer and navigate to your project
Select an existing process definition or create a new one
Add a Start Timer Event to your process instead of a regular Start node
Timer Start Event Configuration
2
Configure Timer Settings
Configure the timer according to your requirements:
Date Specific: Set a specific date and time for the process to start
Cycle: Configure a recurring schedule using cron expressions
Starting processes through registered timers requires sending a process start message to Kafka, which needs a service account and authentication. See Service Accounts for details.
For more detailed information about Timer Start Events, refer to the Start Timer Event documentation.
Message Catch Start Events allow one process to initiate another through message-based communication, creating dependencies and workflows between processes.
1
Configure the Sender Process
Open FlowX.AI Designer and create or edit the process that will send the message
Add a Message Throw Intermediate Event node at the point where you want to trigger the other process
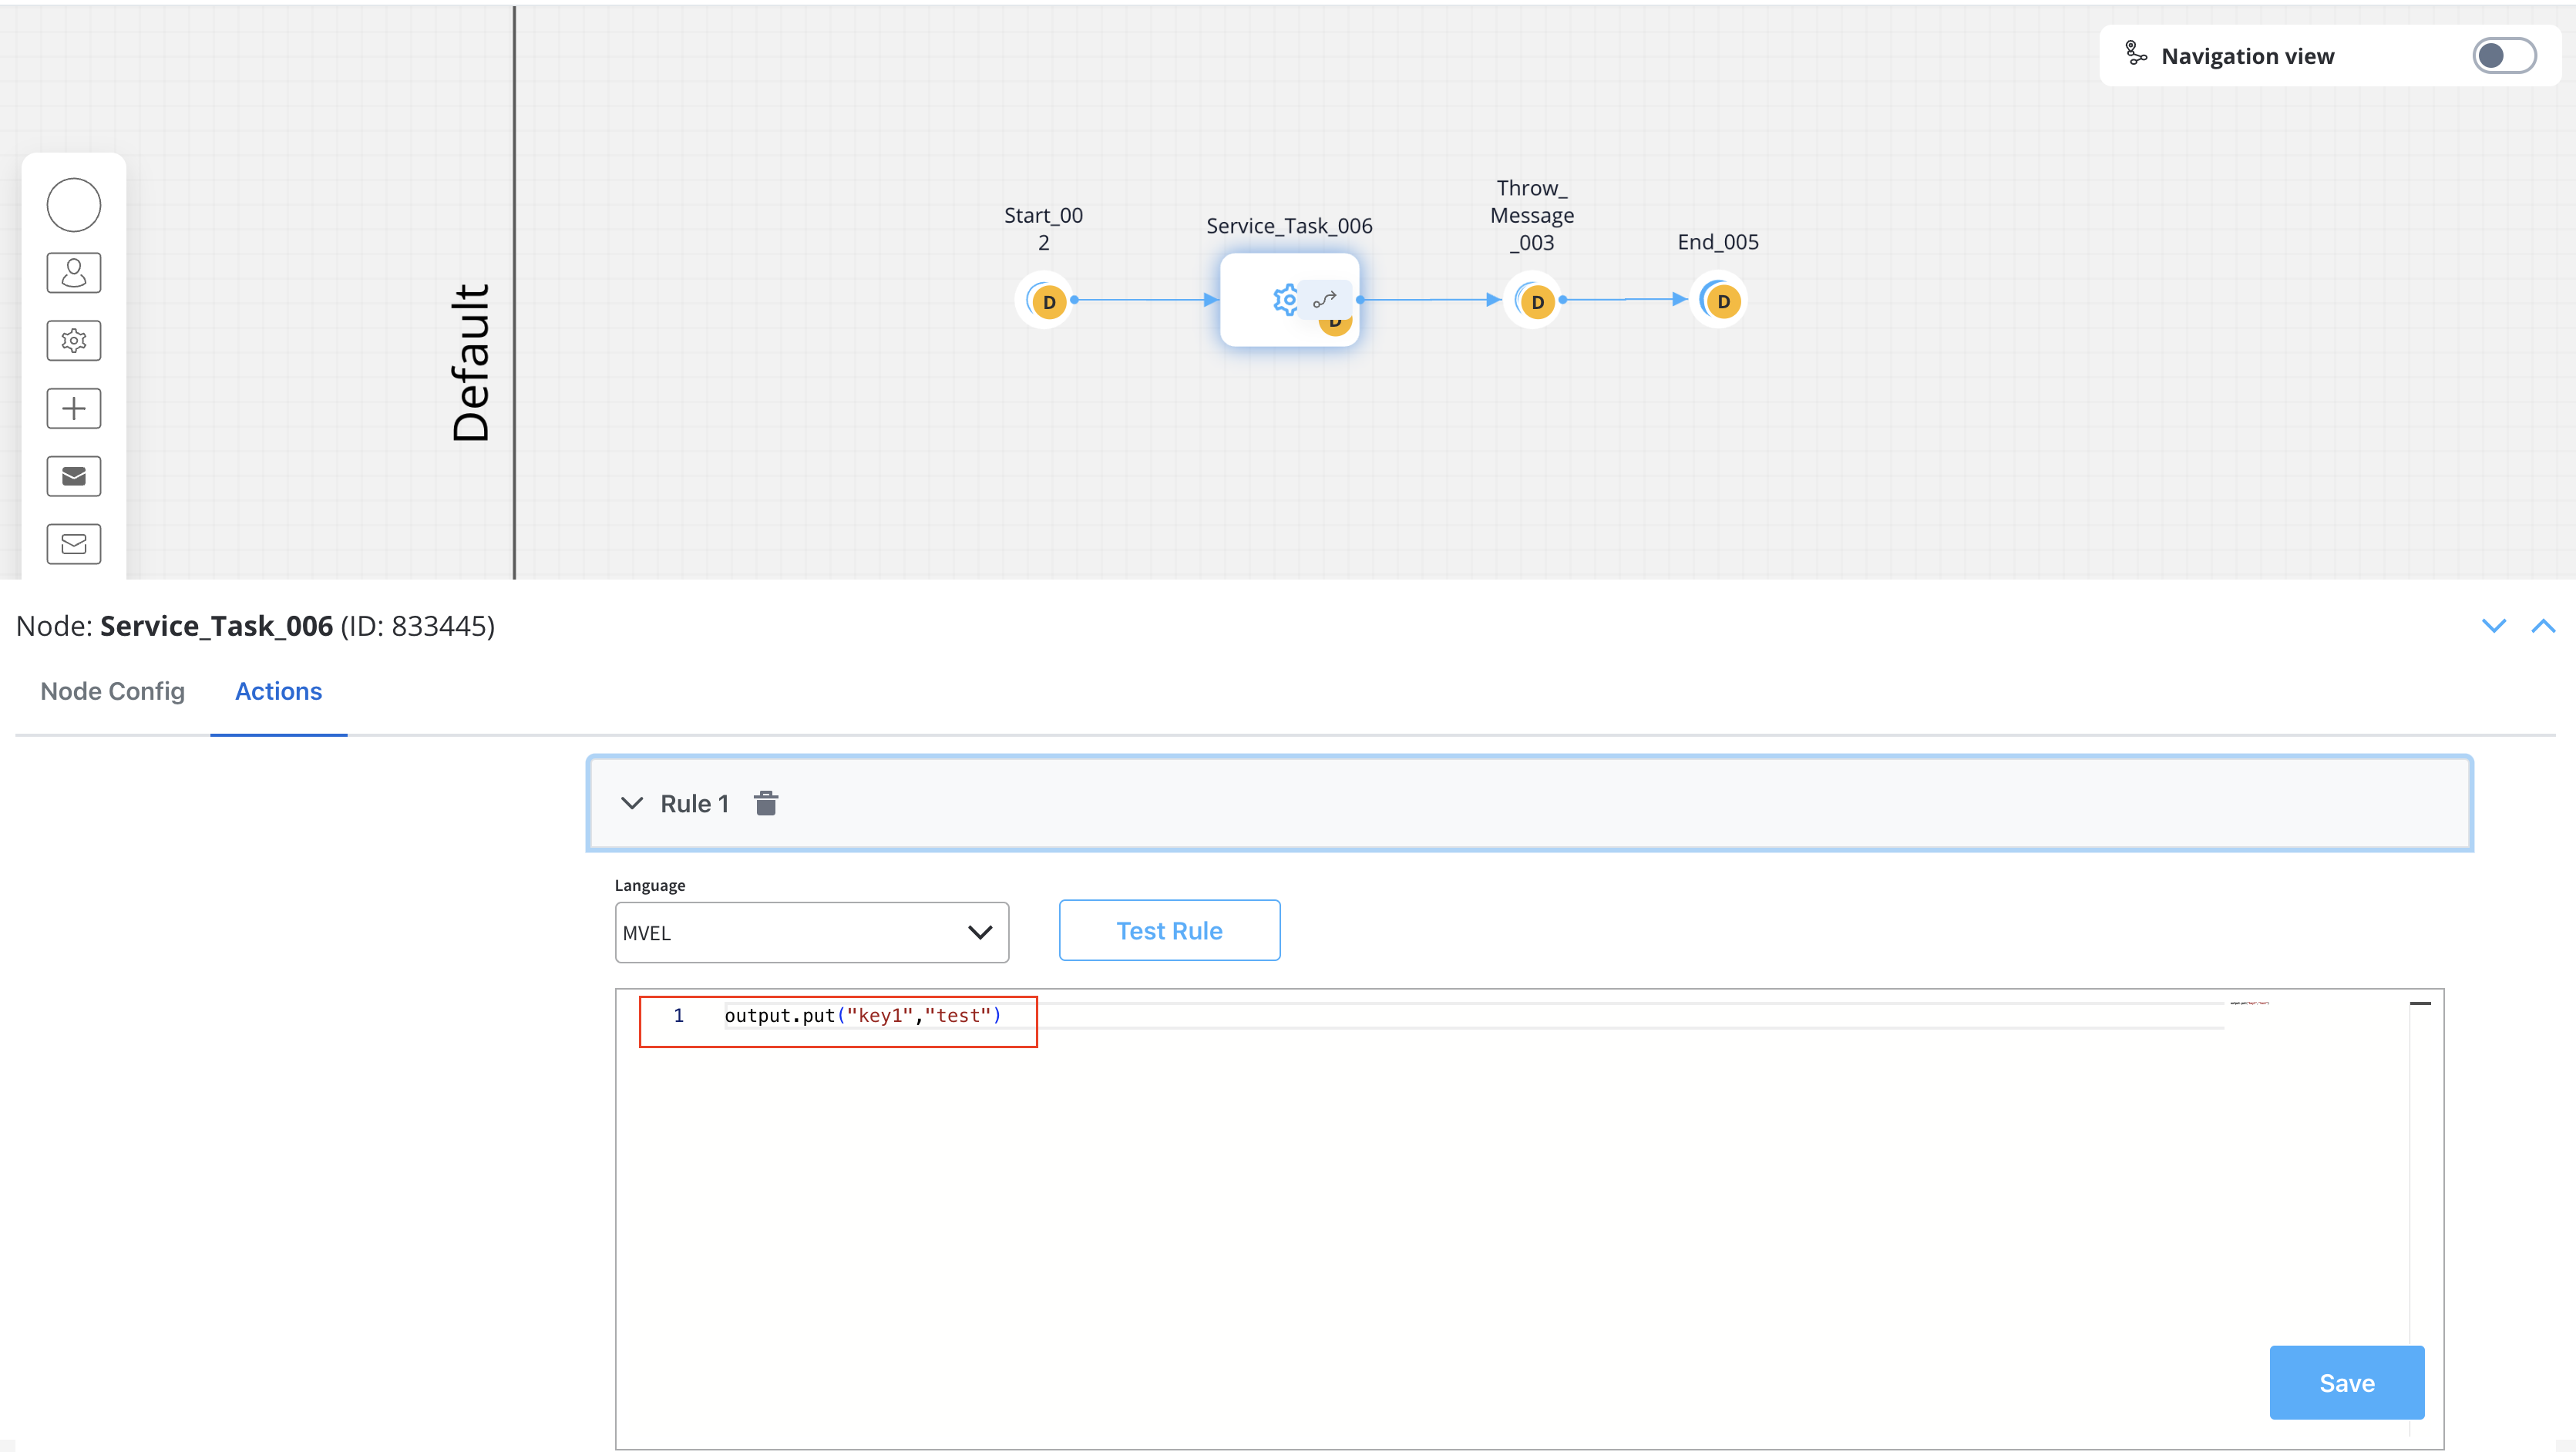
Configure data that will be used for correlation (e.g., a key value like ‘key1’)
Correlation Data Configuration
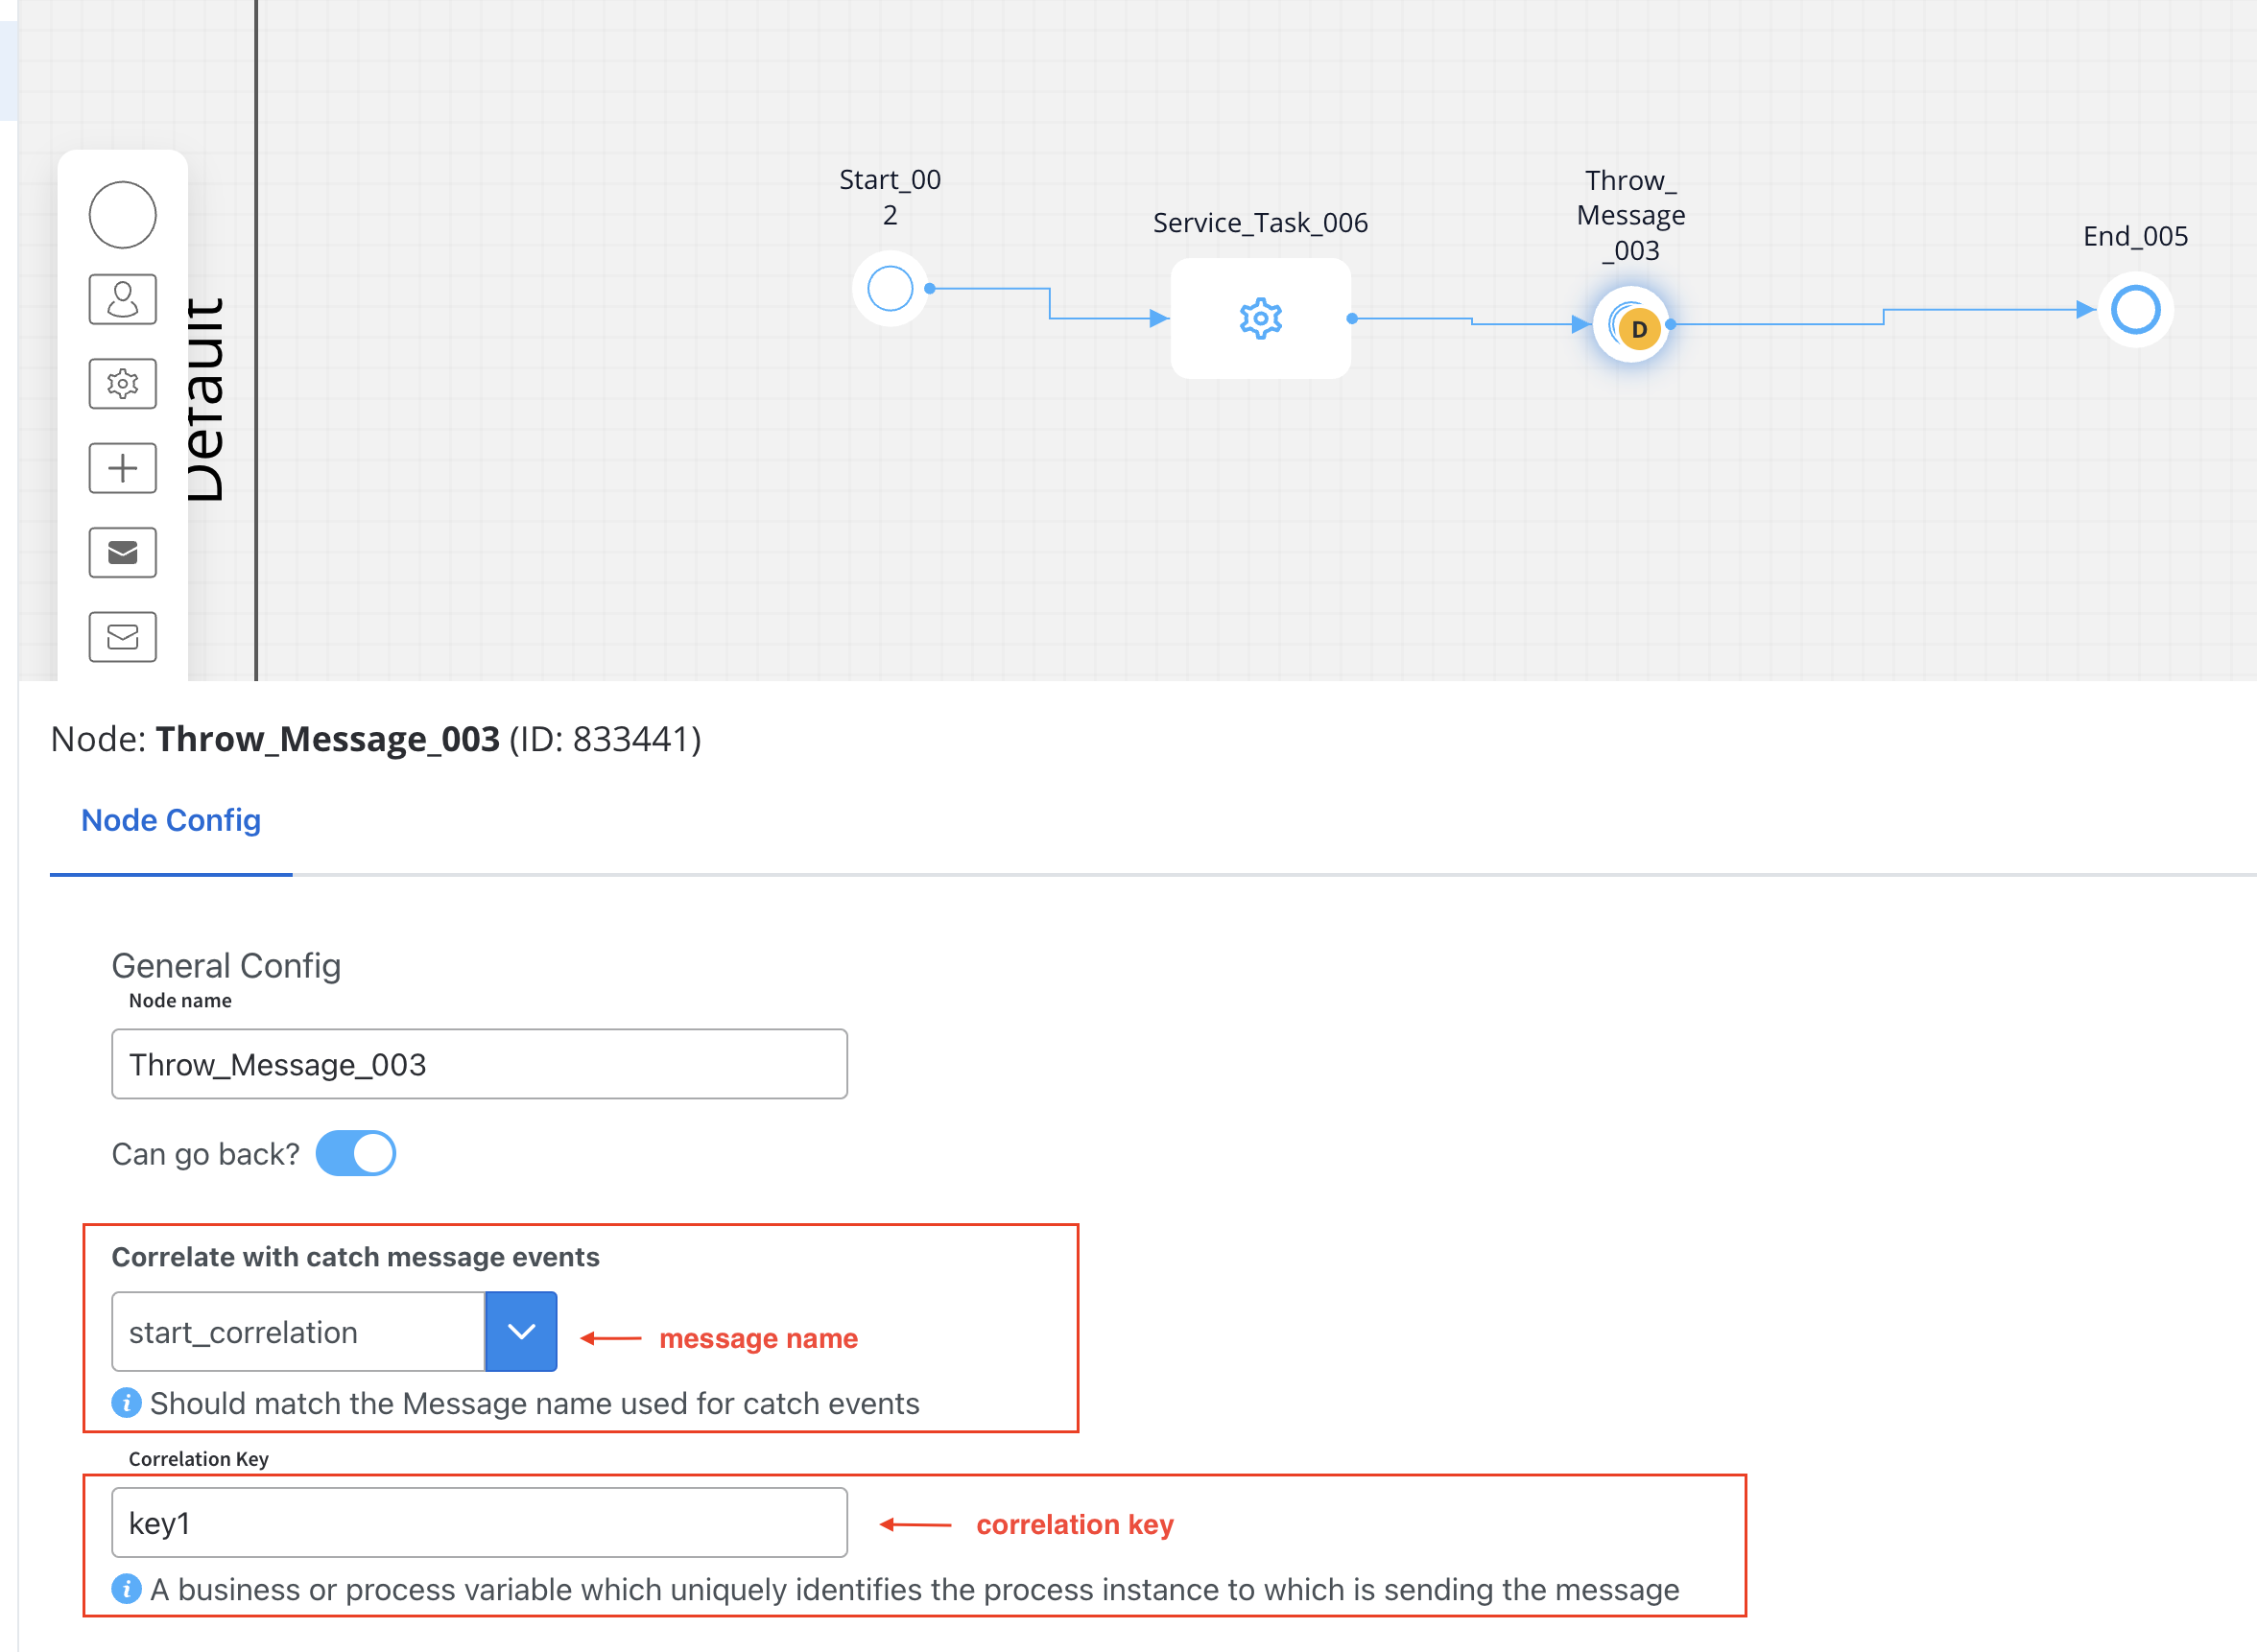
Configure the message correlation in the node properties:
Message Correlation Configuration
2
Configure the Receiver Process
Create or edit the process that should be started by the message
Add a Start Message Catch Event node as the starting point
Configure the node with:
The same message name used in the throw event (e.g., ‘start_correlation’)
The correlation key in the Receive data tab (e.g., ‘key1’)
3
Test the Configuration
Run the sender process and watch as it automatically triggers the receiver process when the Message Throw Event is reached.
Message Start Event in Action
Message correlation is essential for message-based communication between processes. It’s achieved through the message name (which must be identical in both throw and catch events) and the correlation key (or value).