

Overview
Real-time messaging
Send and receive messages instantly with streaming support
AI agent integration
Connect to workflows powered by AI agents
Session management
Automatic session handling and persistence across page refreshes
Customizable UI
Themeable components with independent styling for agent and user messages
Adding to a UI Flow
1
Navigate to UI Flows
Open your project and go to UI Flows from the left navigation menu.
2
Select or create a UI Flow
Select an existing UI flow or create a new one.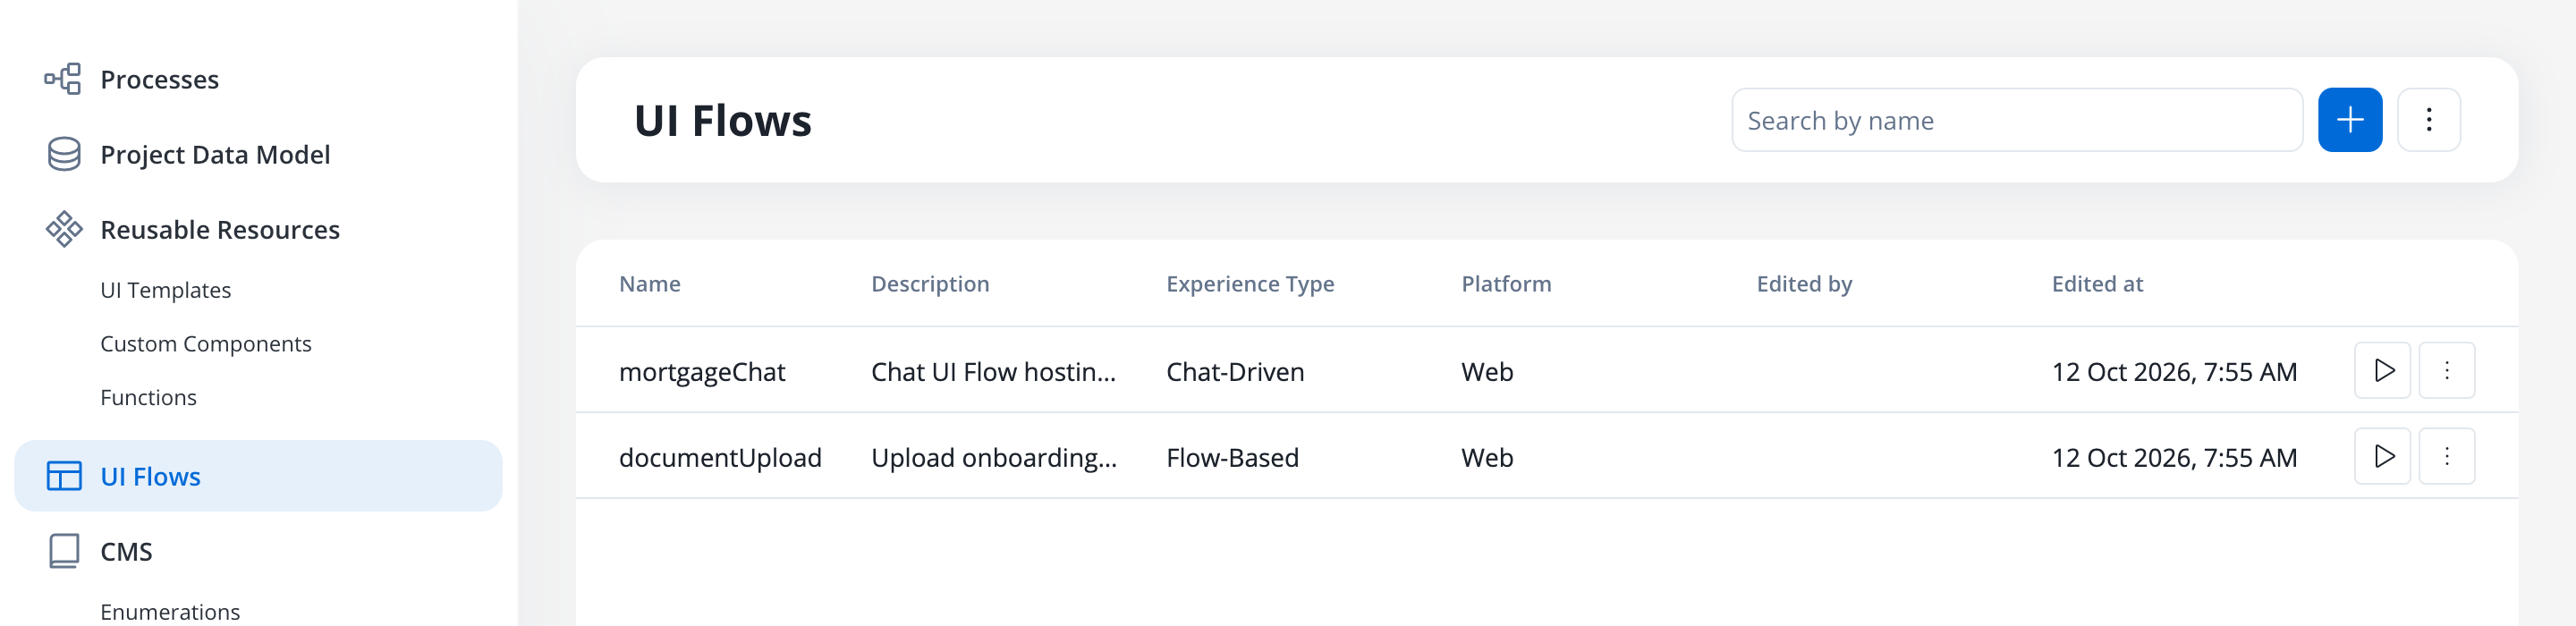
3
Open UI Assets panel
In the left sidebar, expand the UI Assets panel. Find Chat alongside Table, Collection, and other components.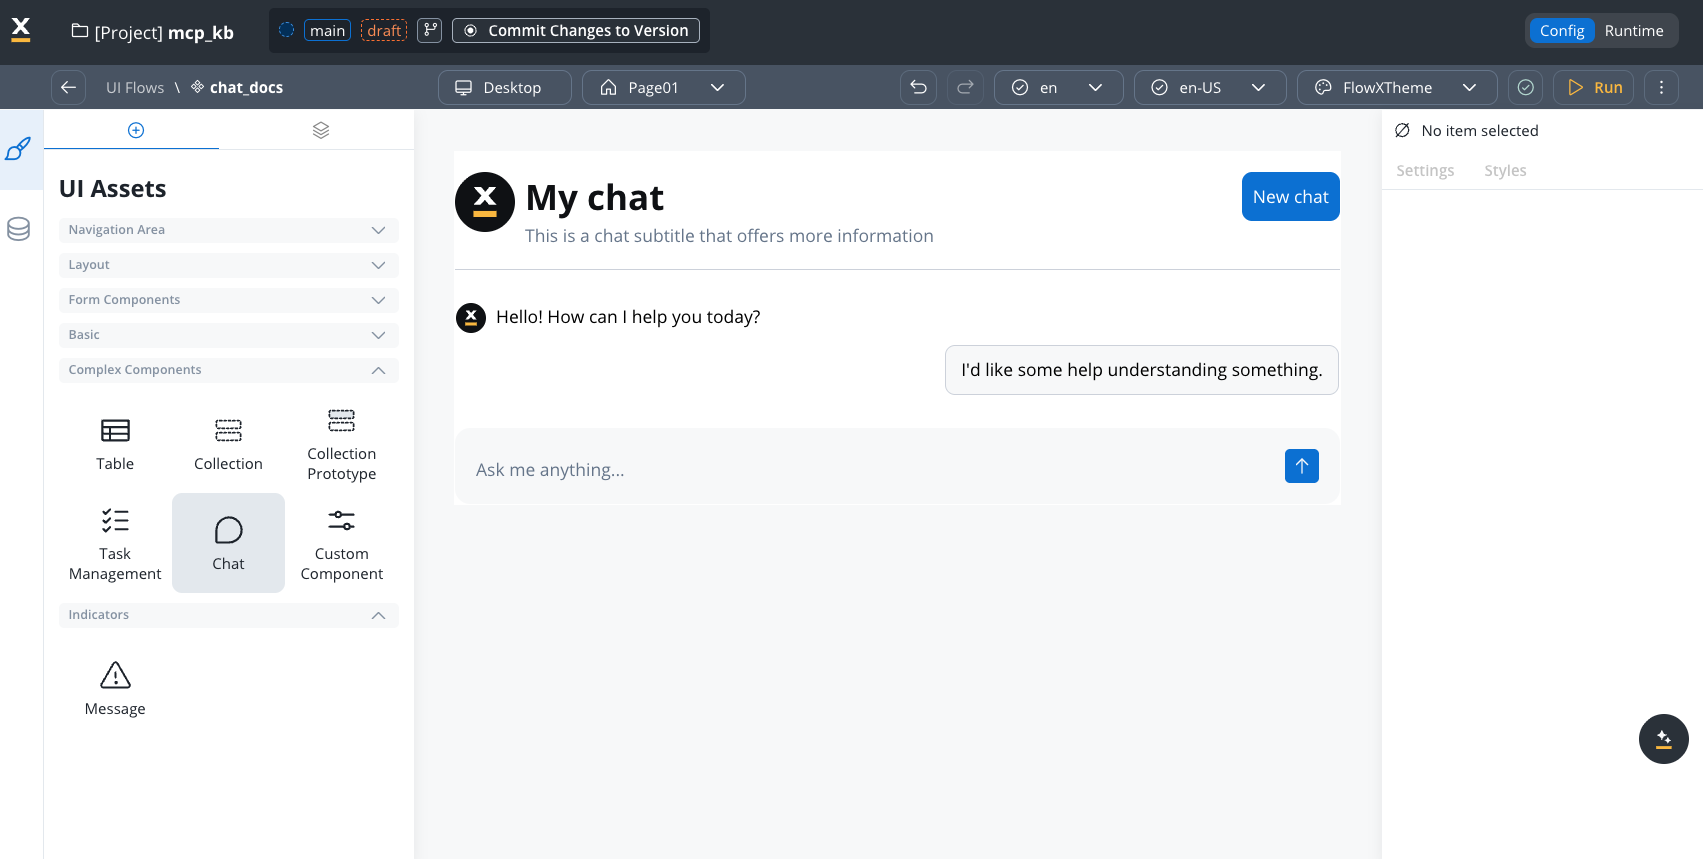
4
Add and configure
Drag Chat onto the canvas, then configure properties in the right panel.
Configuration
Key settings
Component hierarchy
The Chat component has configurable sub-components: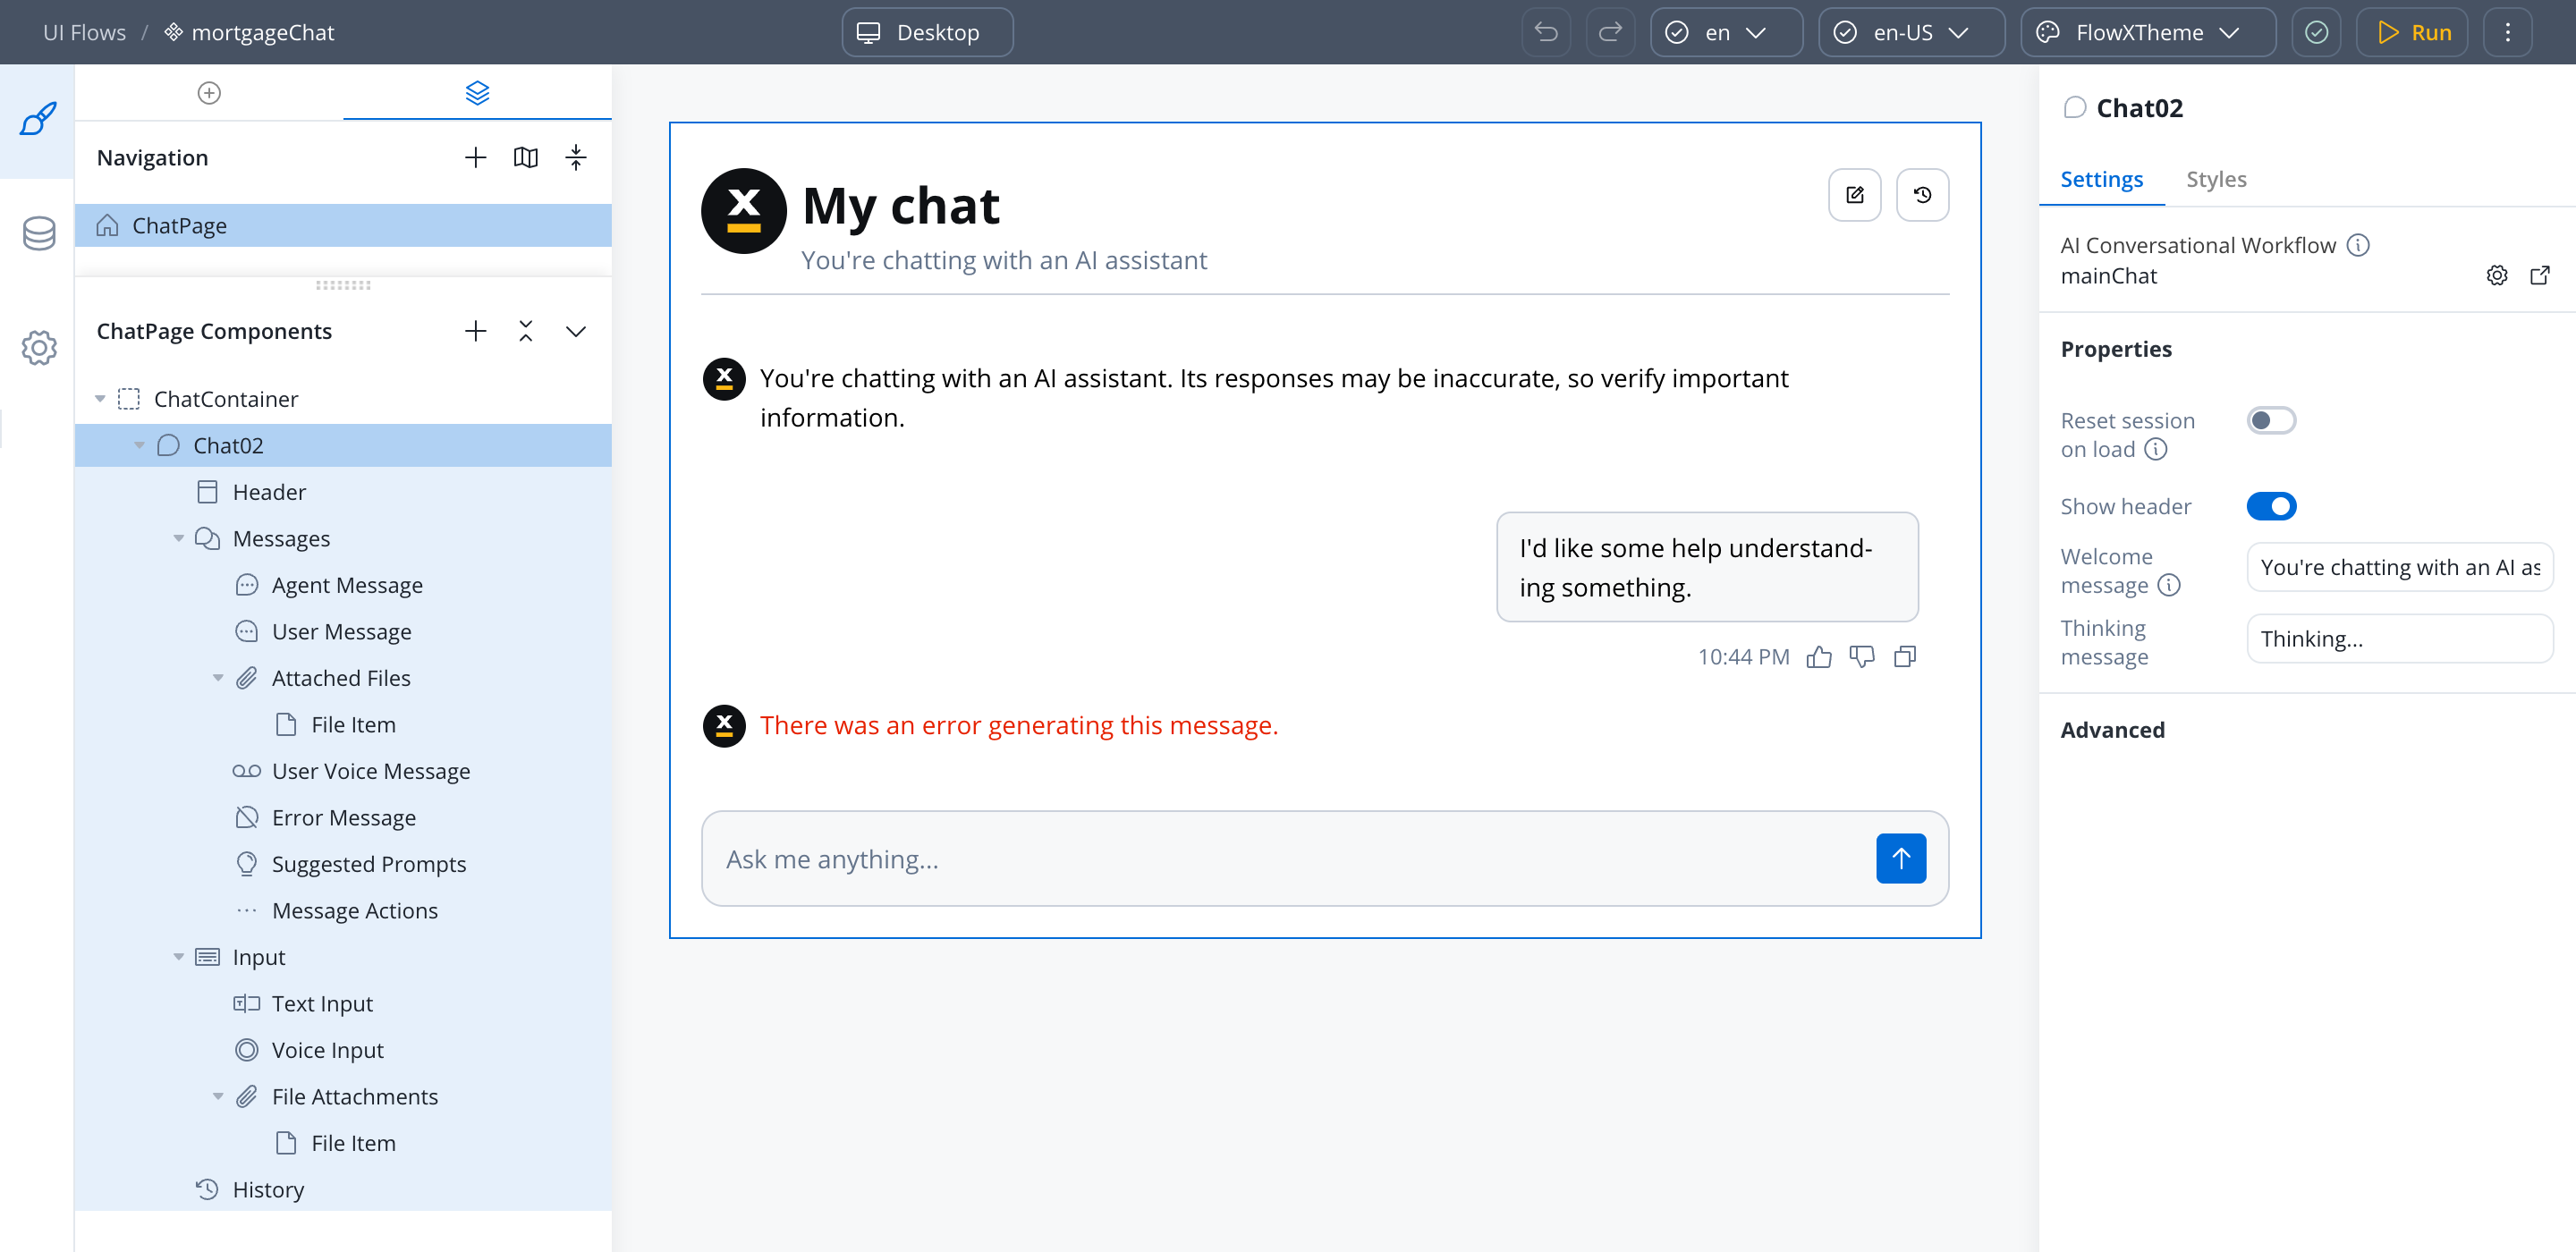
Settings by sub-component
Chat (root)
Chat (root)
The Advanced section holds an Analytics name field. Turning it on shows Analytics custom payload. An Overlay chat uses it to track when the chat is opened; an Inline chat has no analytics field. Text Input, Suggested Prompts, Voice Input, and Message Actions have their own Analytics name field.
Header
Header
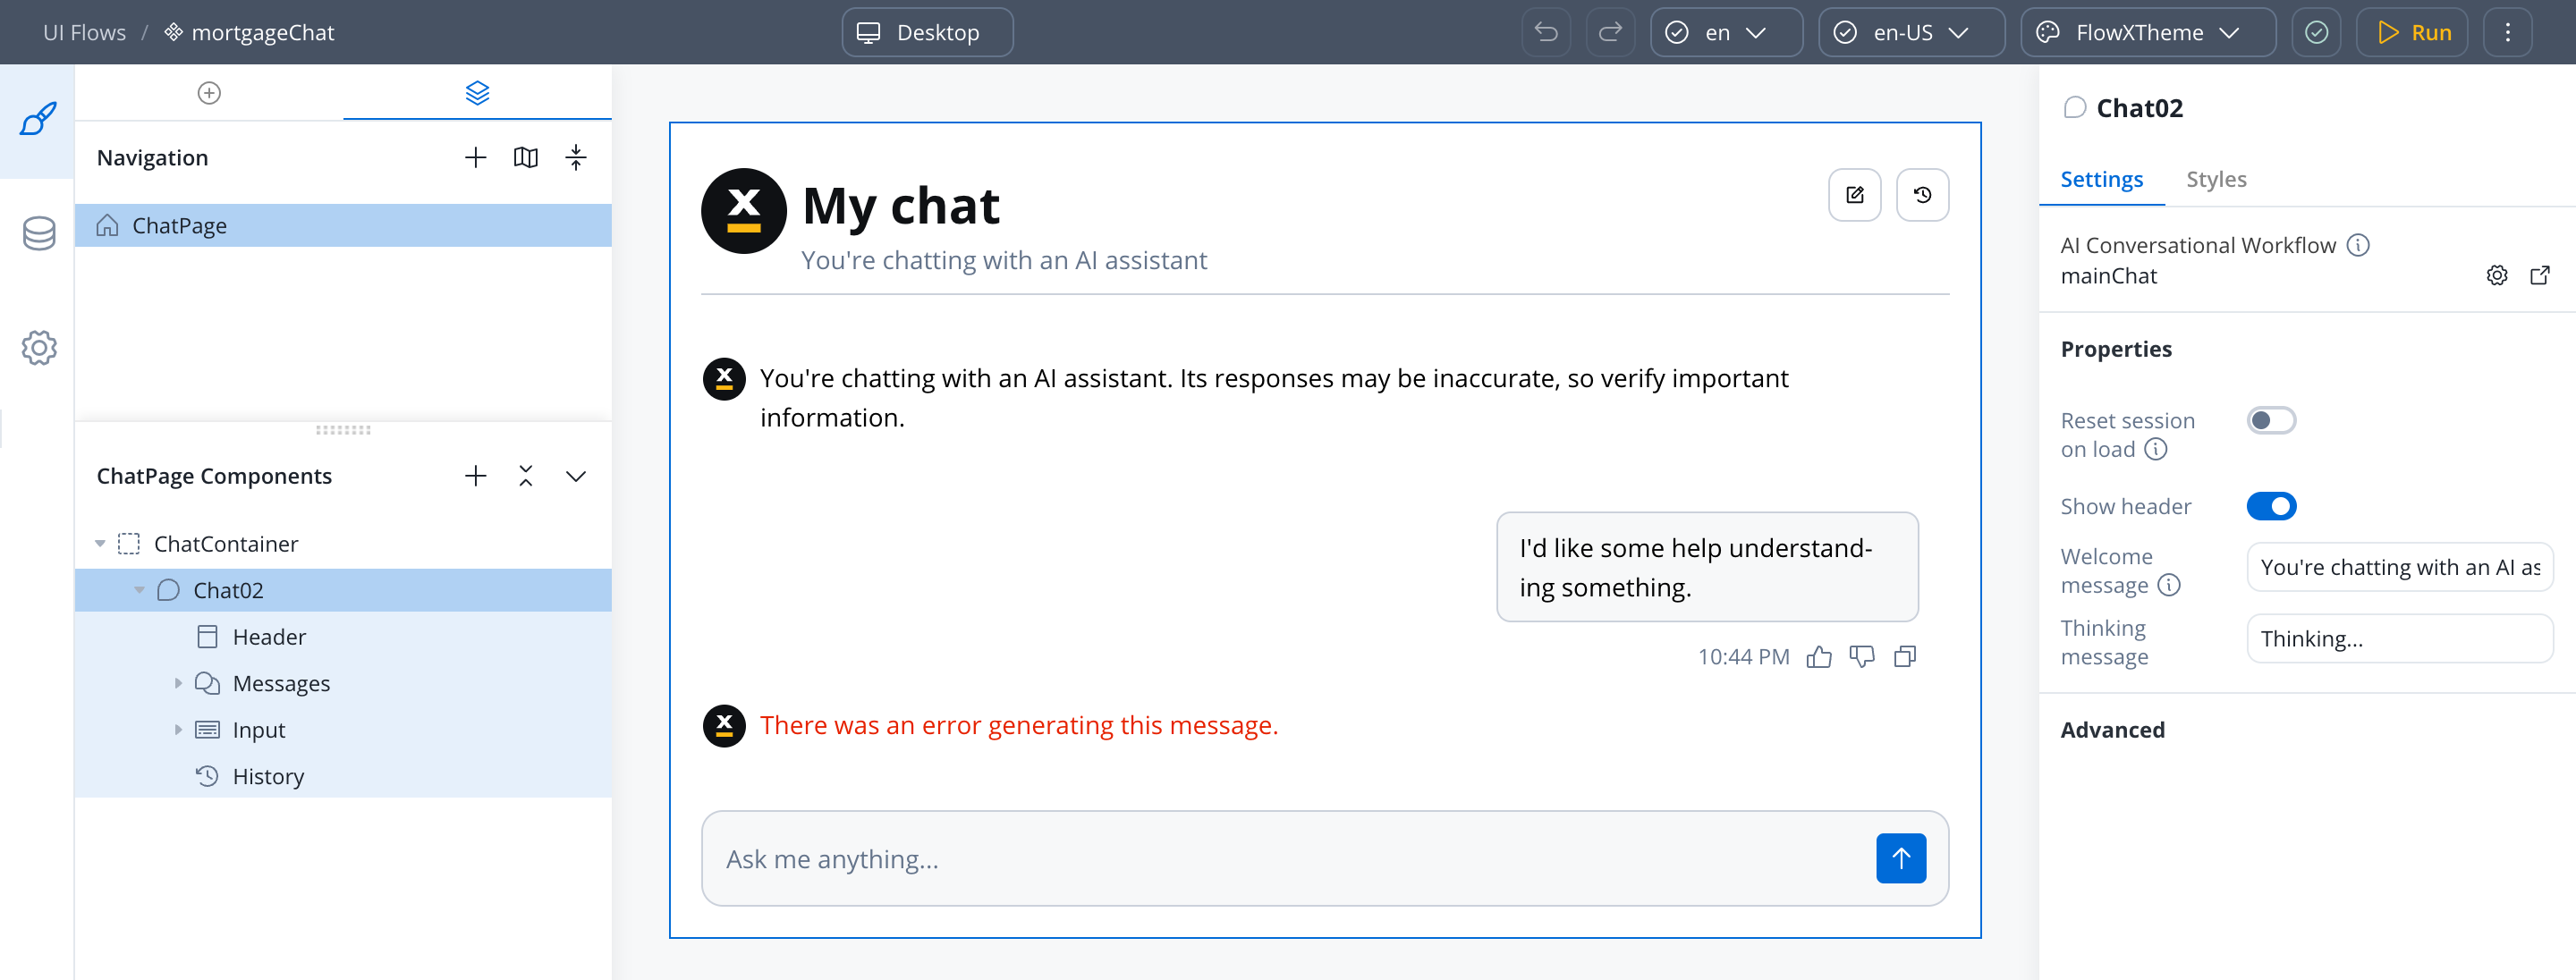
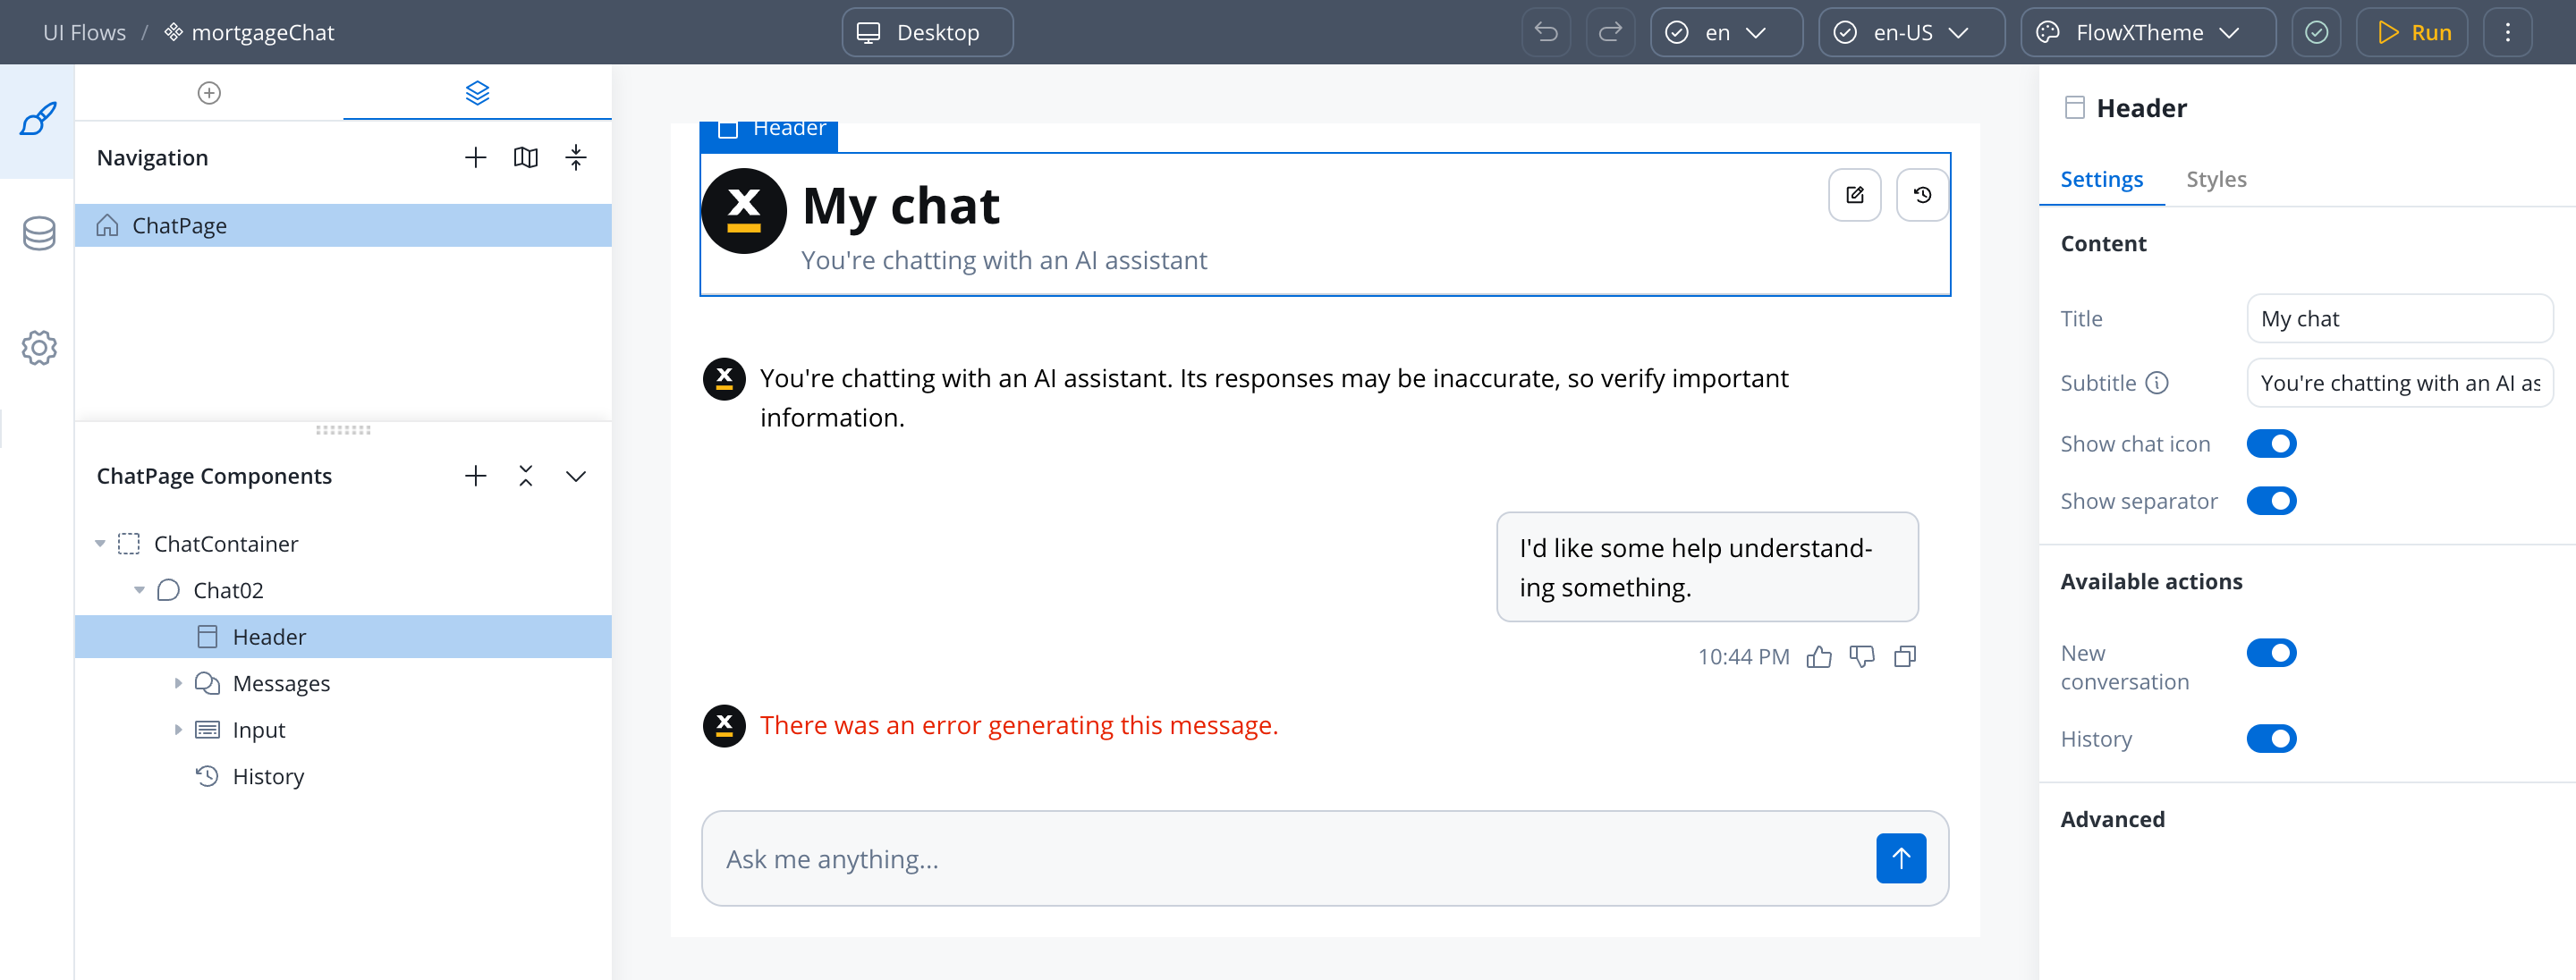
Under Available actions, the New conversation and History toggles control whether the header shows the button for starting a new conversation and the button for opening past conversations.A new Chat starts with the title “My chat”, the subtitle “You’re chatting with an AI assistant”, and the chat icon, separator, and both available actions turned on.
Chat History
Chat History
Searching past conversationsEnd users can search the conversation list from the history panel. Searching starts once the query is at least 3 characters long, ignoring leading and trailing spaces, and results replace the list while the query is active.
Conversation previews in the list can show raw Markdown characters such as
# and * when an agent reply contains them. Rendering Markdown in the preview line is not yet supported.Agent Message
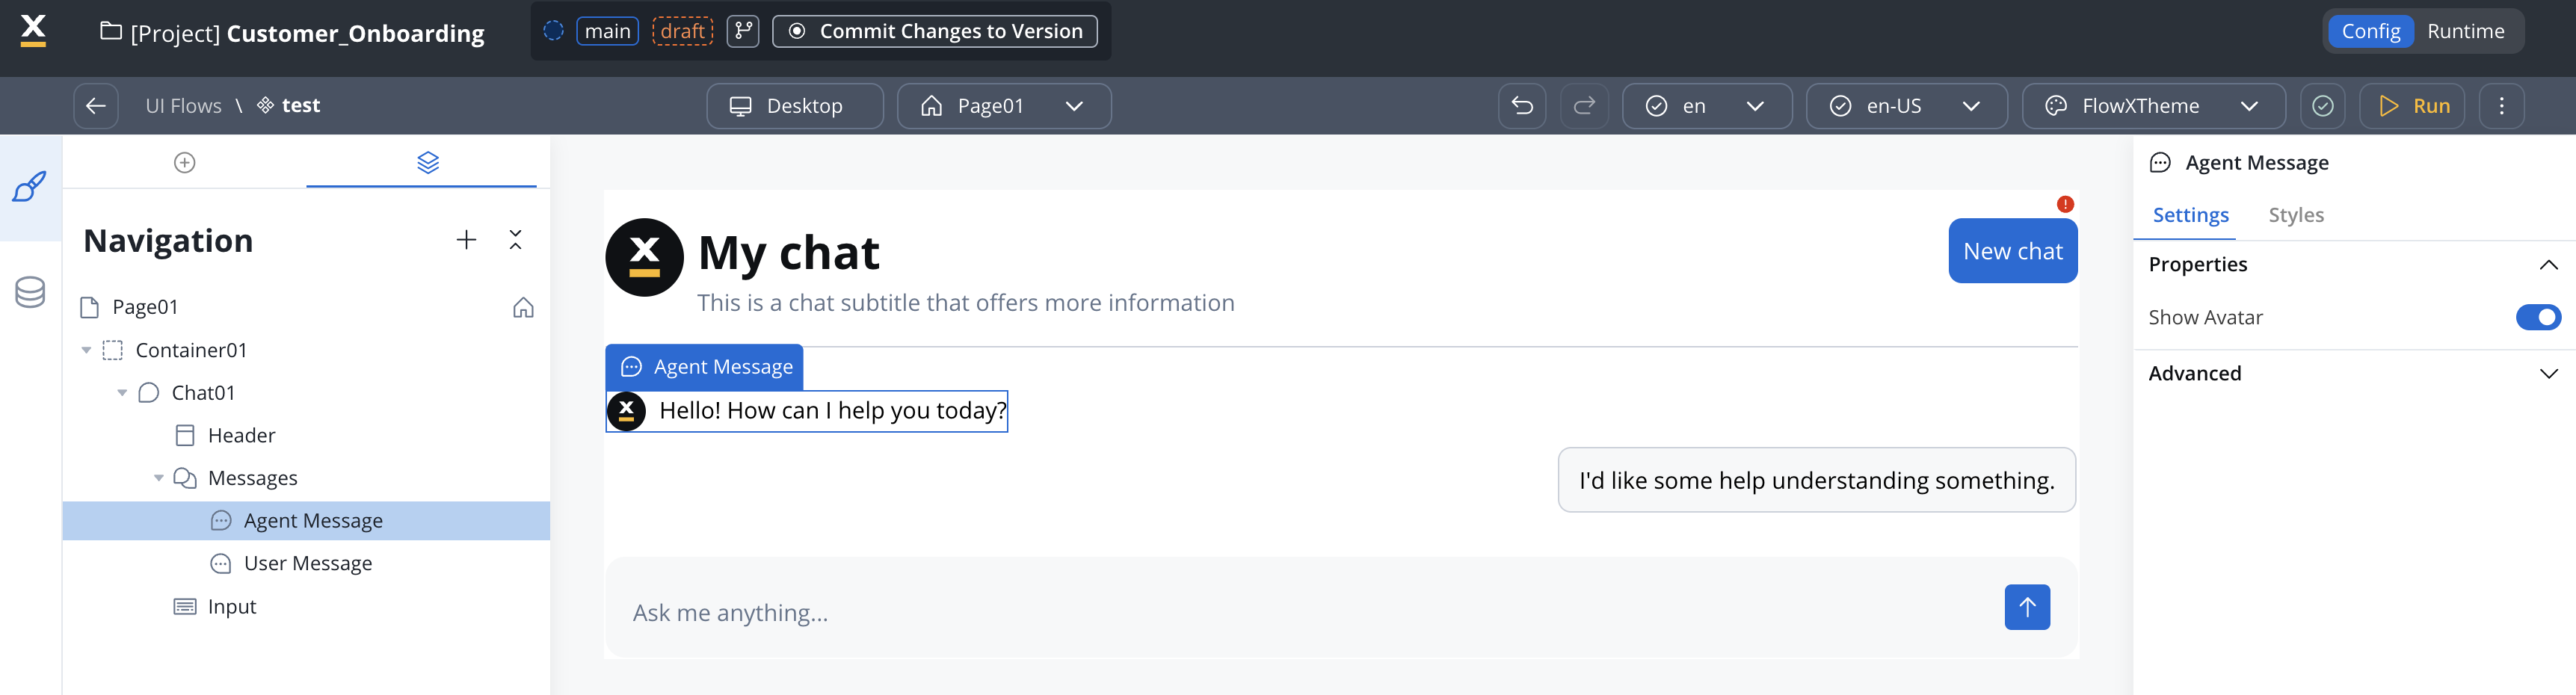
Agent Message
Error message
Error message
Shown in place of an agent reply when the reply could not be generated.
Message actions
Message actions
Lets end users copy and rate an agent reply.
Input
Input
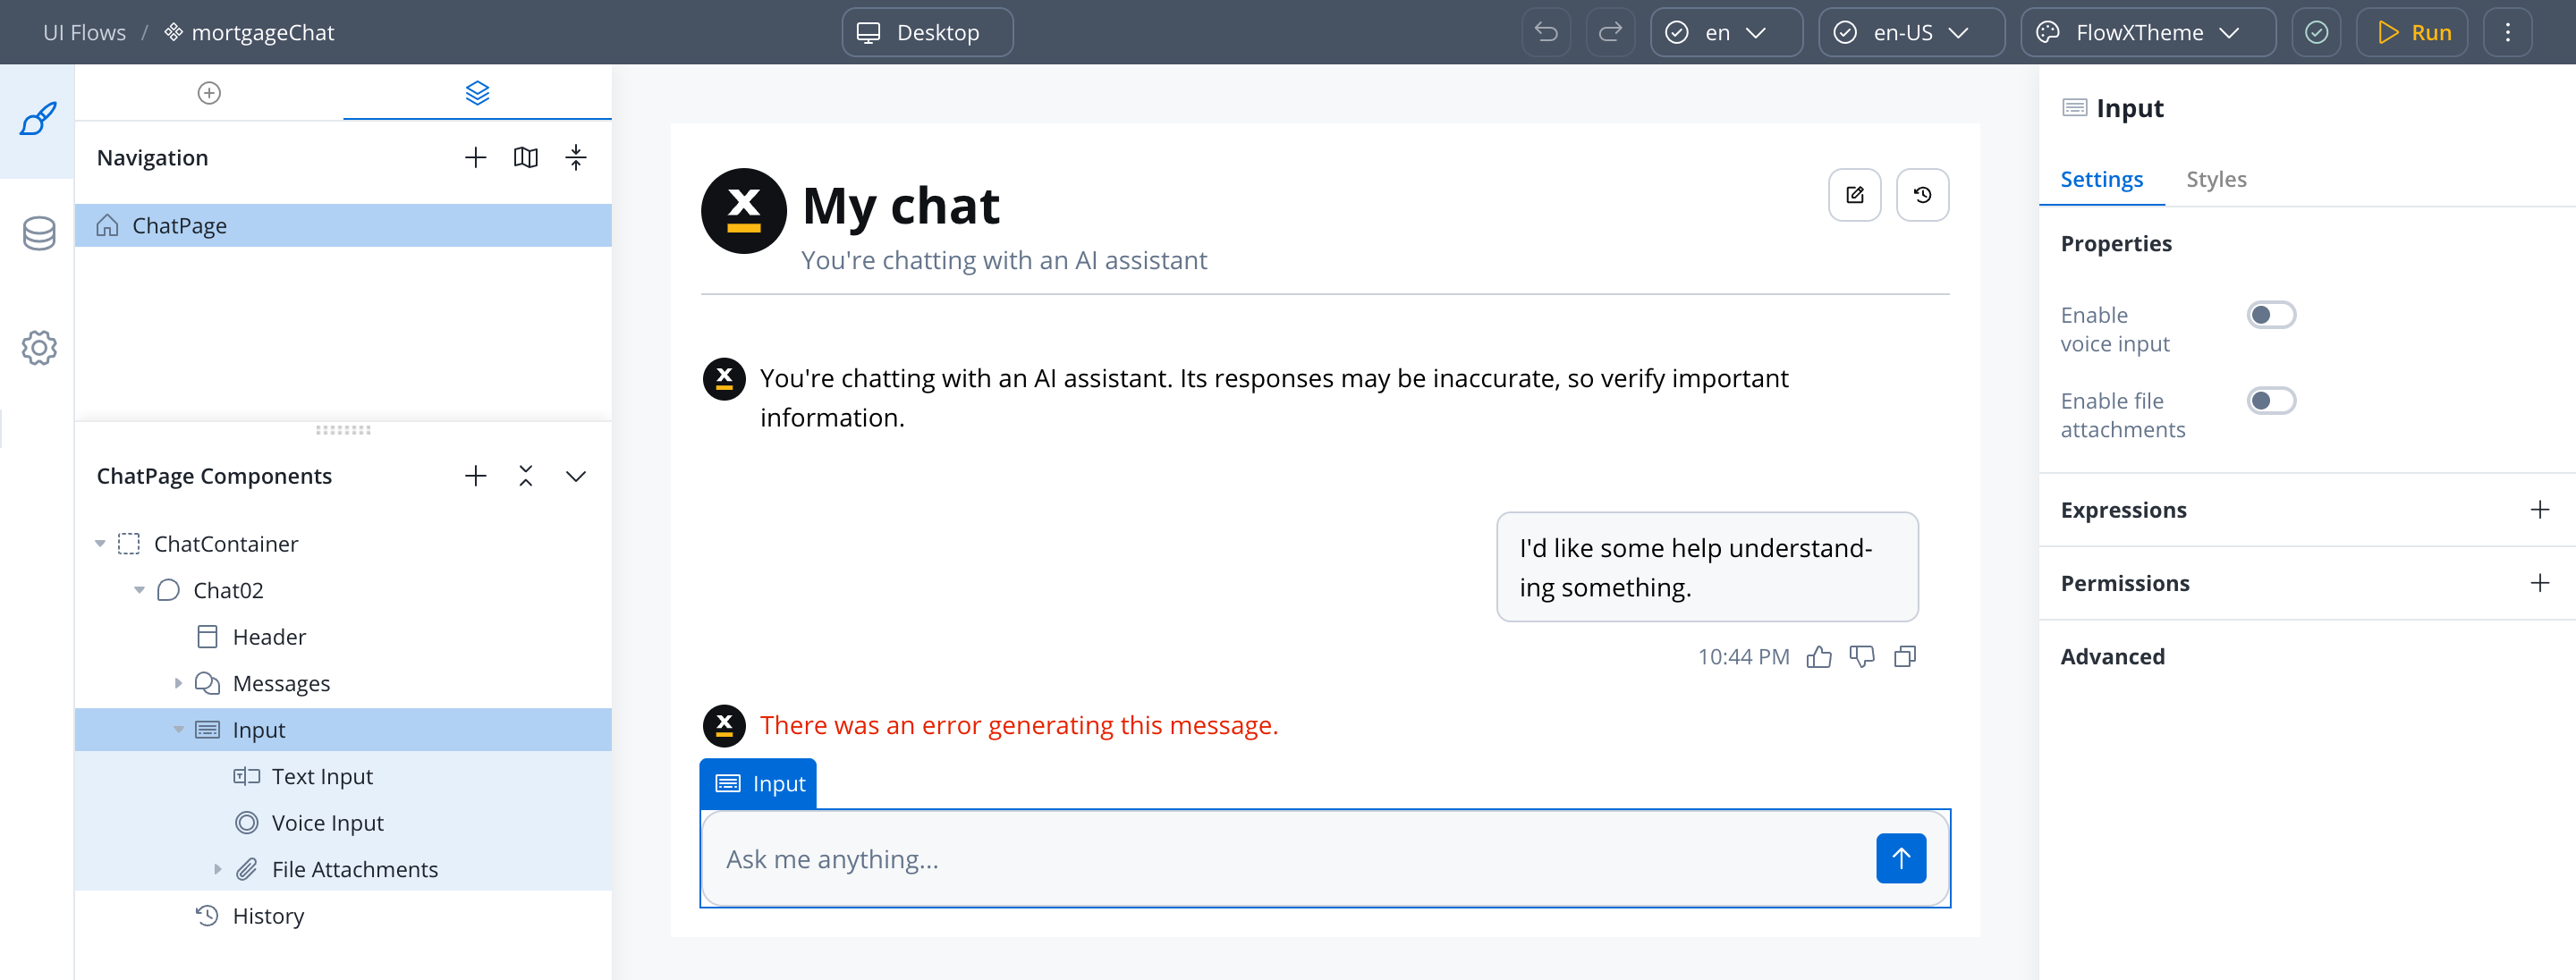
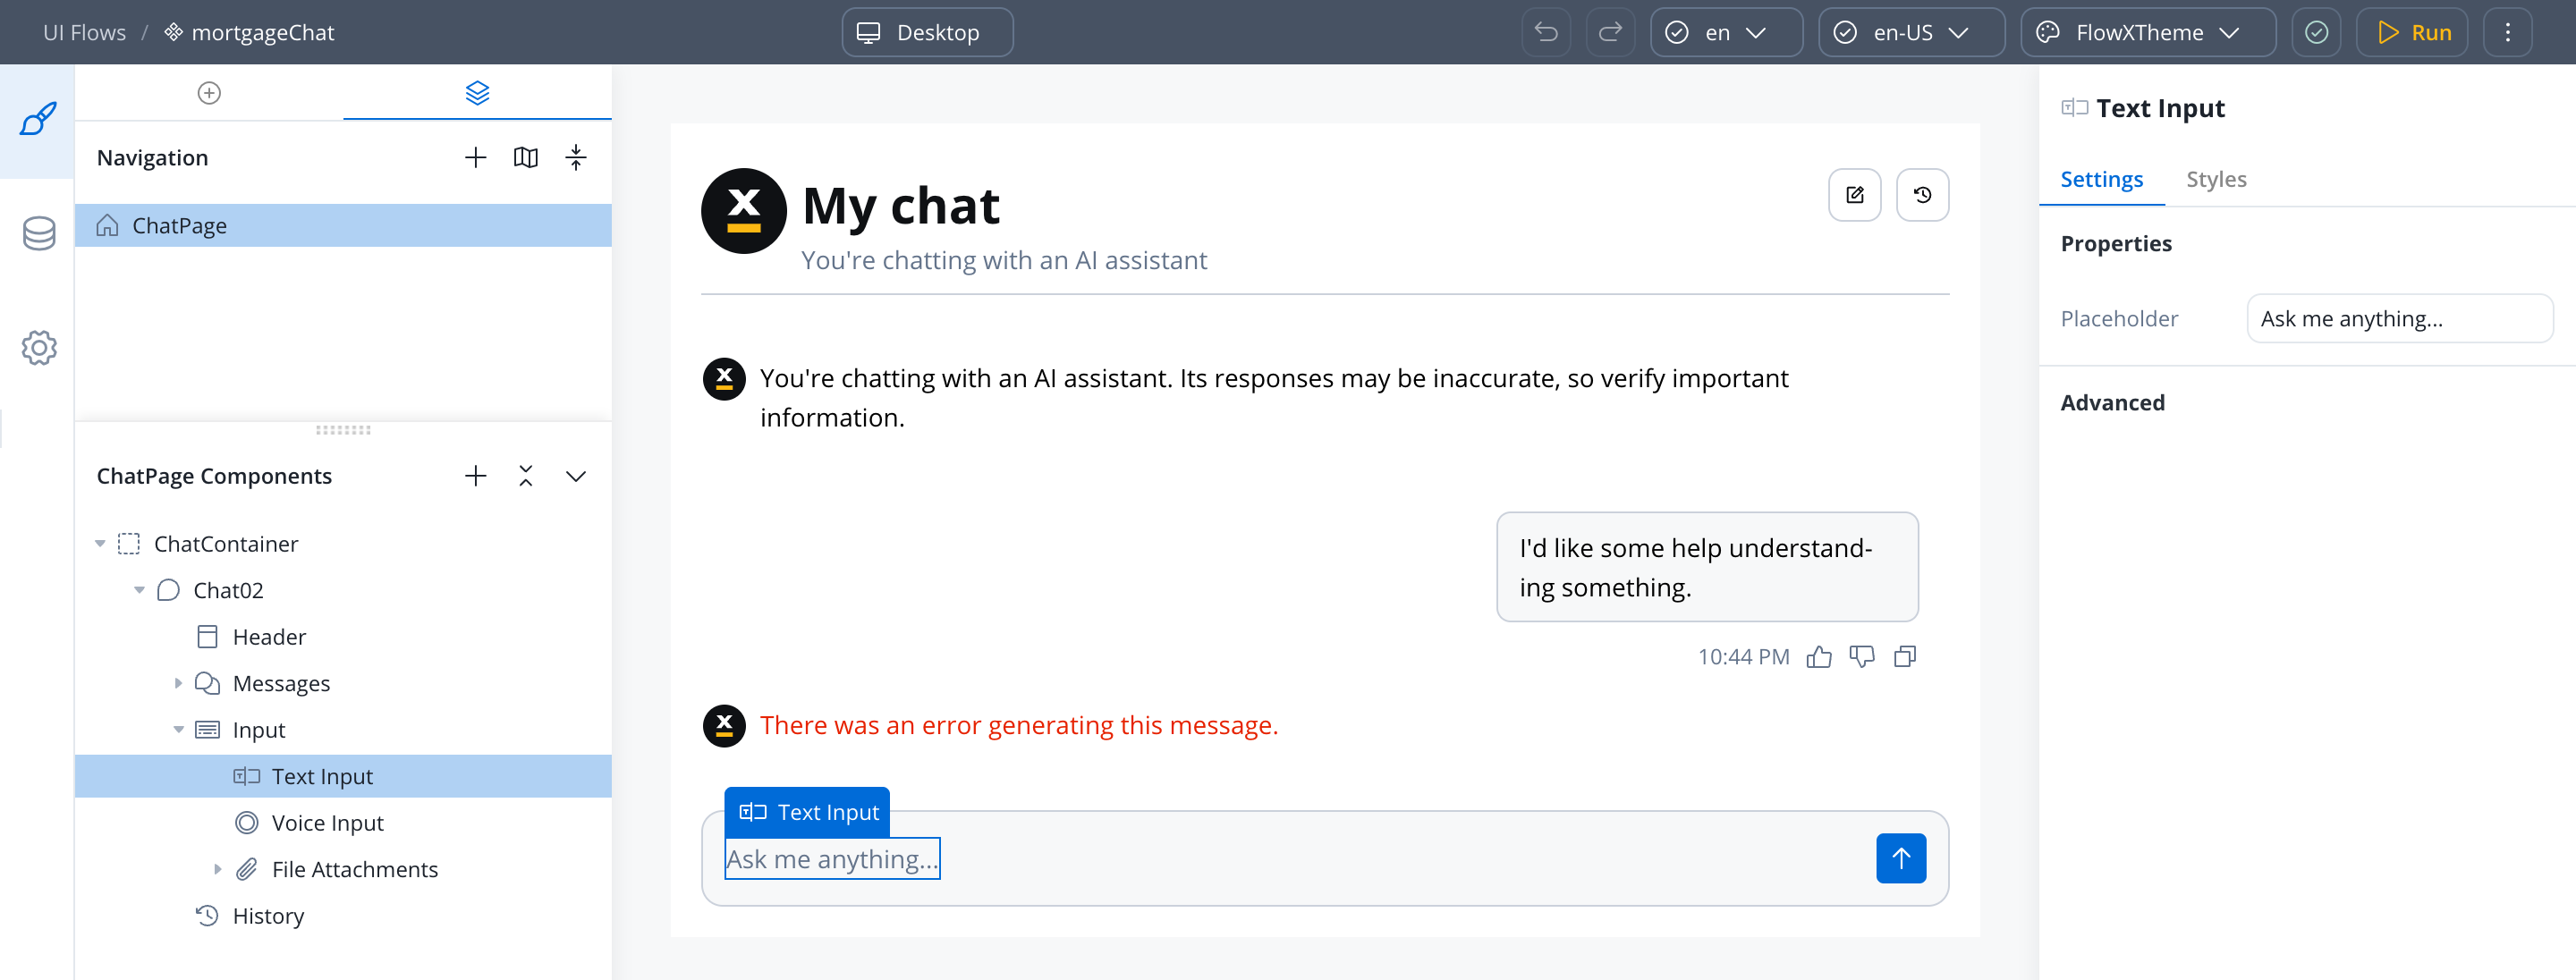
The hint text sits on the Text Input child: set Placeholder there, for example “Ask me anything…”. Text Input also has an Analytics name field, which tracks each message sent from the input. The message text is never sent.
Suggested Prompts
Suggested Prompts
Displays pre-configured prompt suggestions before the user types. Child of Messages (alongside Agent Message and User Message).
Clicking a suggestion sends it as the user’s message. Long prompts are truncated and revealed via tooltip.
File Attachments
File Attachments
Lets end users send files together with a text message. Turn on Enable file attachments on the Input sub-component to activate it, then configure the accepted files and the error copy here.Hierarchy is Chat → Input → File Attachments → File Item. Files the user has already sent appear under Messages → Attached Files → File Item.
File Item has no properties of its own. It is the per-file row, and it carries its own default and error styling.For upload behavior, error handling, and how uploaded files reach the agent, see File attachments in the Chat component reference.
Styling
Configure visual styling through Theme Admin (Design Assets → Themes → Components → Chat).Themeable elements
Display modes
The Chat component has two display modes, Inline and Overlay. An Overlay chat renders as Floating, Full Screen, or both.
When you pick Overlay, select Floating, Full Screen, or both. Floating is selected by default, and at least one of the two must stay selected. A Floating chat opens from a FAB (Floating Action Button).
To change the display mode after creation, right-click the Chat and select Edit Display Types. The option appears only when the Web platform is selected.
Sizing defaults
The sizing controls appear in the style panel only when the Web platform is selected.
Floating action button (FAB)
Floating and FullScreen modes include a Floating Action Button that triggers the chat. The FAB is configurable in the style panel:Notification dot
When an agent replies while the chat is collapsed, a notification dot appears on the floating action button so users see there is something to read. The dot shows the number of unread agent replies, displayed as “9+” above nine. It clears when the user opens the chat. Style it in the Notification dot section of the chat style panel. The values apply to both Floating and FullScreen modes.The dot does not survive a page refresh. If a user reloads the page before opening the chat, the dot clears even though the agent reply is still unread.
Theming per display mode
Theme values are configured independently per display mode and per platform (Web, Android, iOS) through Design Assets → Themes → Components → Chat. Supported properties include padding and margin for each mode. For complete runtime details, see the Chat component reference.Advanced documentation
For comprehensive documentation including runtime behavior, session management, custom persistence workflows, SDK integration, and troubleshooting:Chat component - Full reference
Complete technical documentation in AI Platform section
Related resources
Chat interface concepts
High-level chat integration patterns
AI Triggers
Launch chat-driven workflows with structured trigger messages
Knowledge bases
Ground AI responses in your data
AI in FlowX
AI capabilities overview