

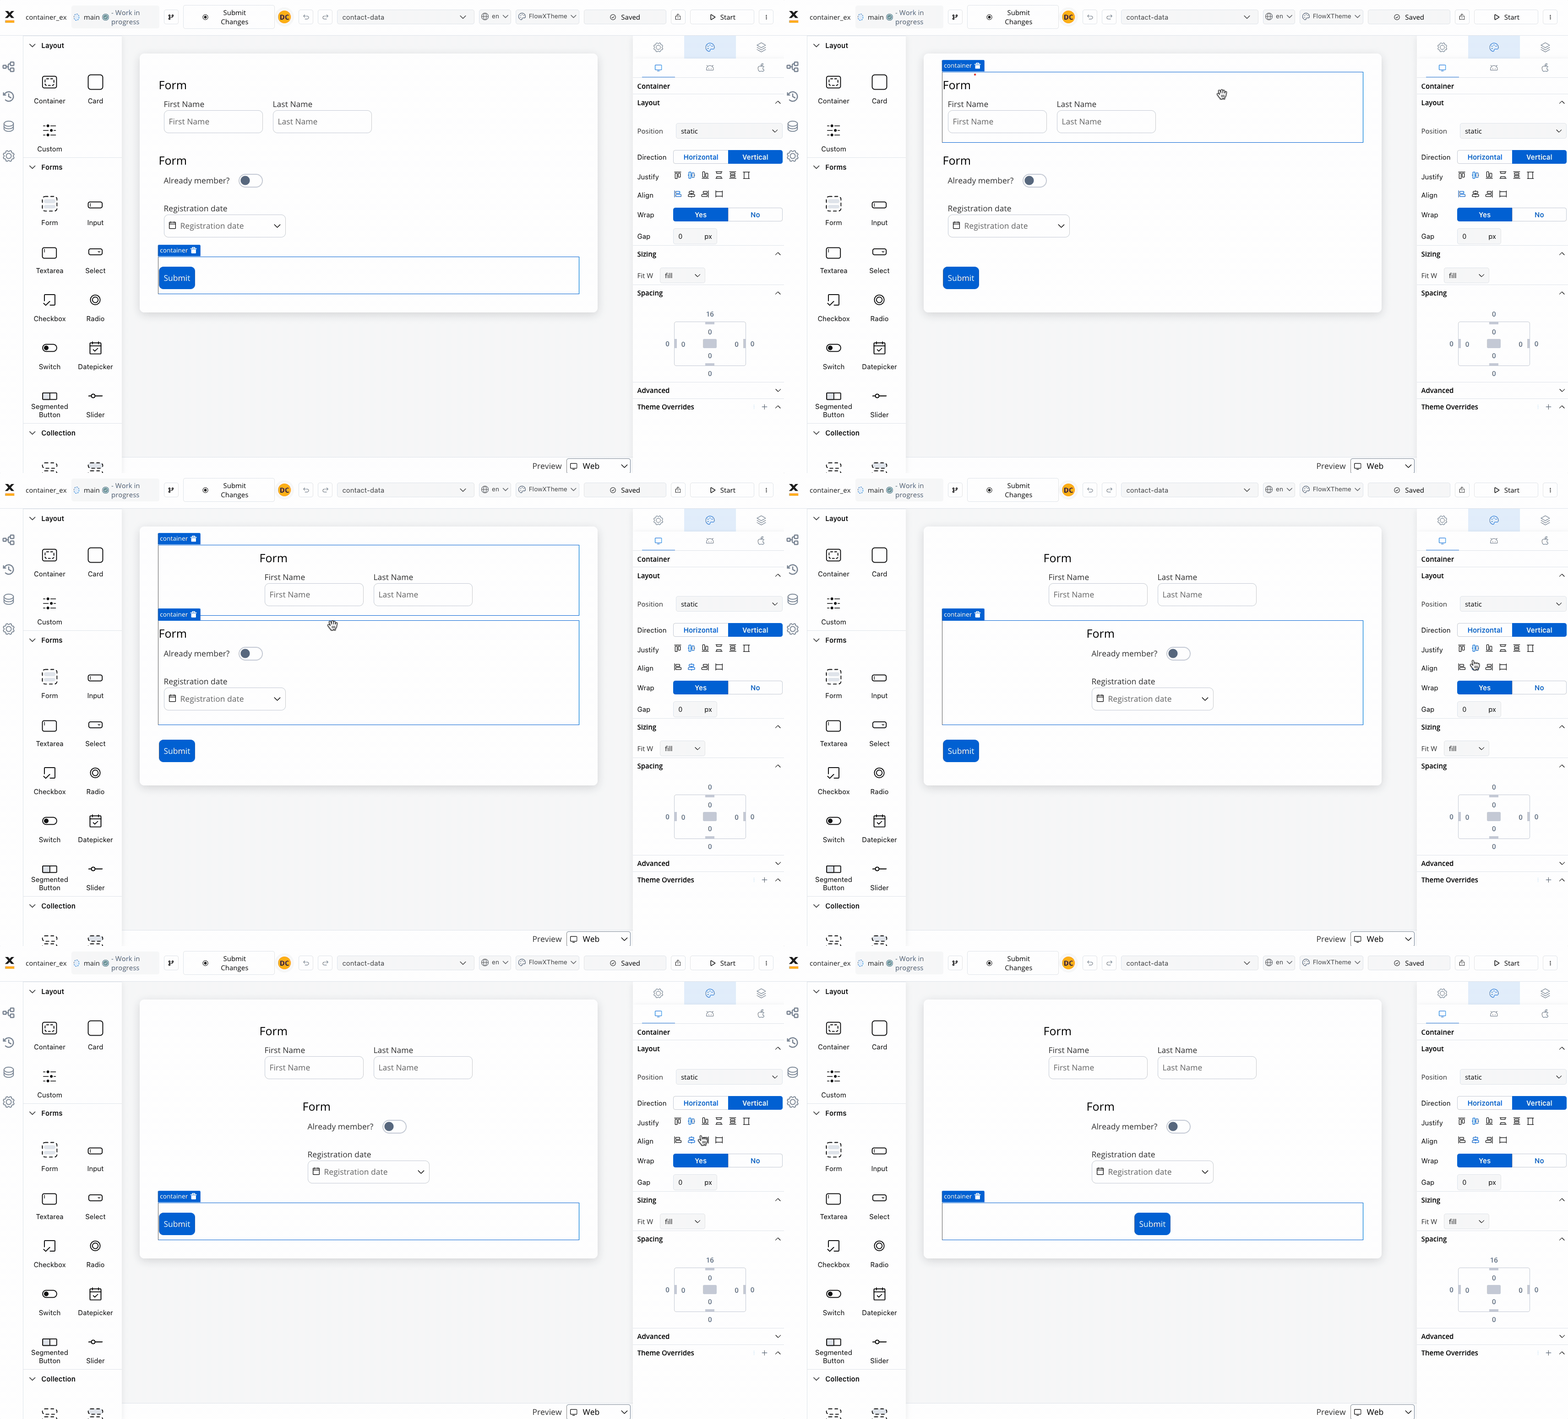
 The following properties can be configured in the container:
Properties and settings
Settings (applicable across all platforms)
These settings added in the Generic tab are available and they apply to all platforms including Web, iOS, and Android.When used as root
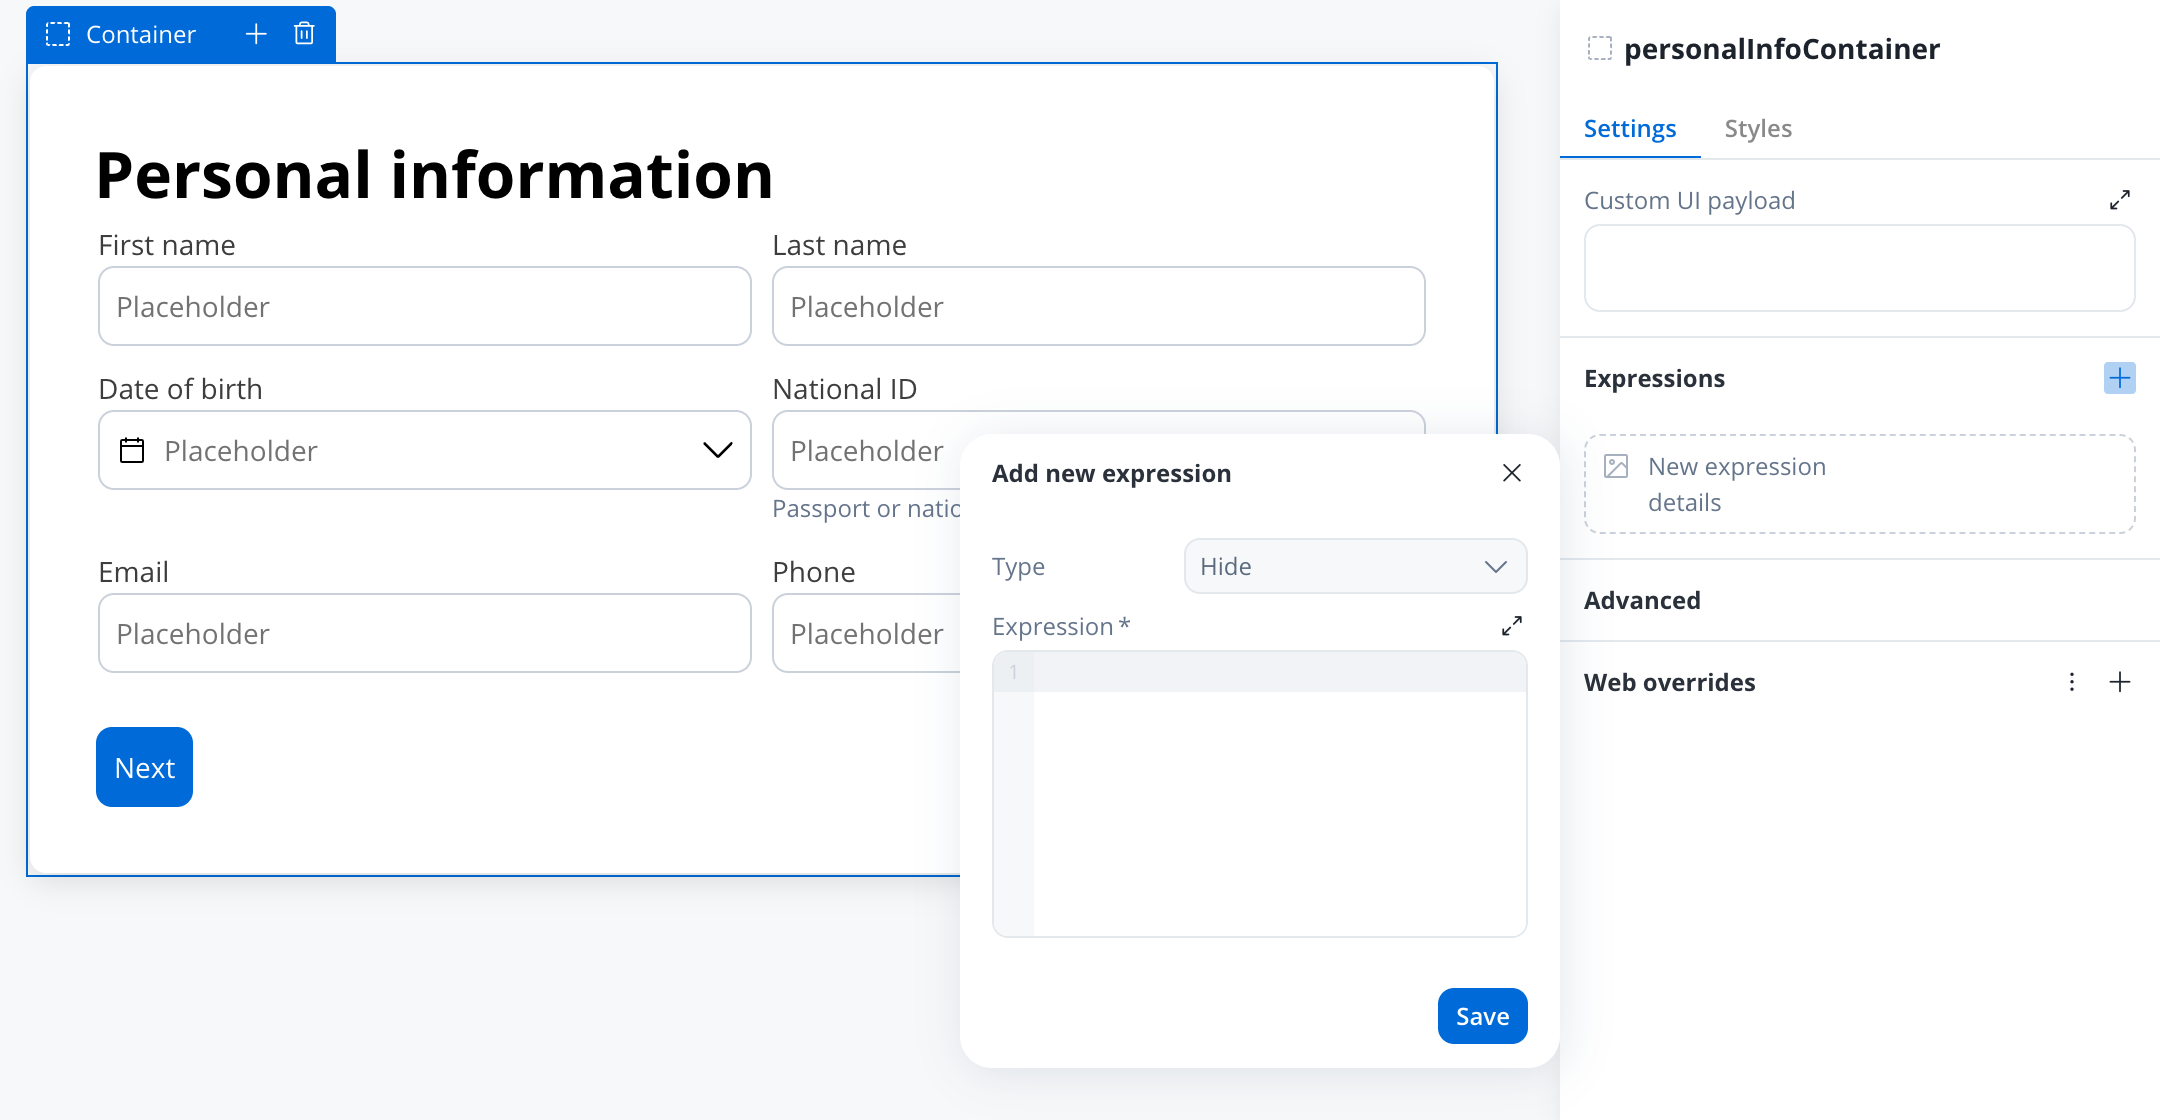
When employed as the root component, the container offers the following settings:- Custom UI payload: A valid JSON describing the data sent to the frontend when the process reaches a specific user task.
- Expressions (Hide condition): JavaScript expressions utilized to dynamically hide components based on conditions. In the Expressions section, click +, set Type to Hide, then enter the expression.
When not used as root
When the container is not used as the root, you can configure a Hide expression under Expressions, Permissions, and the Data test ID under Advanced.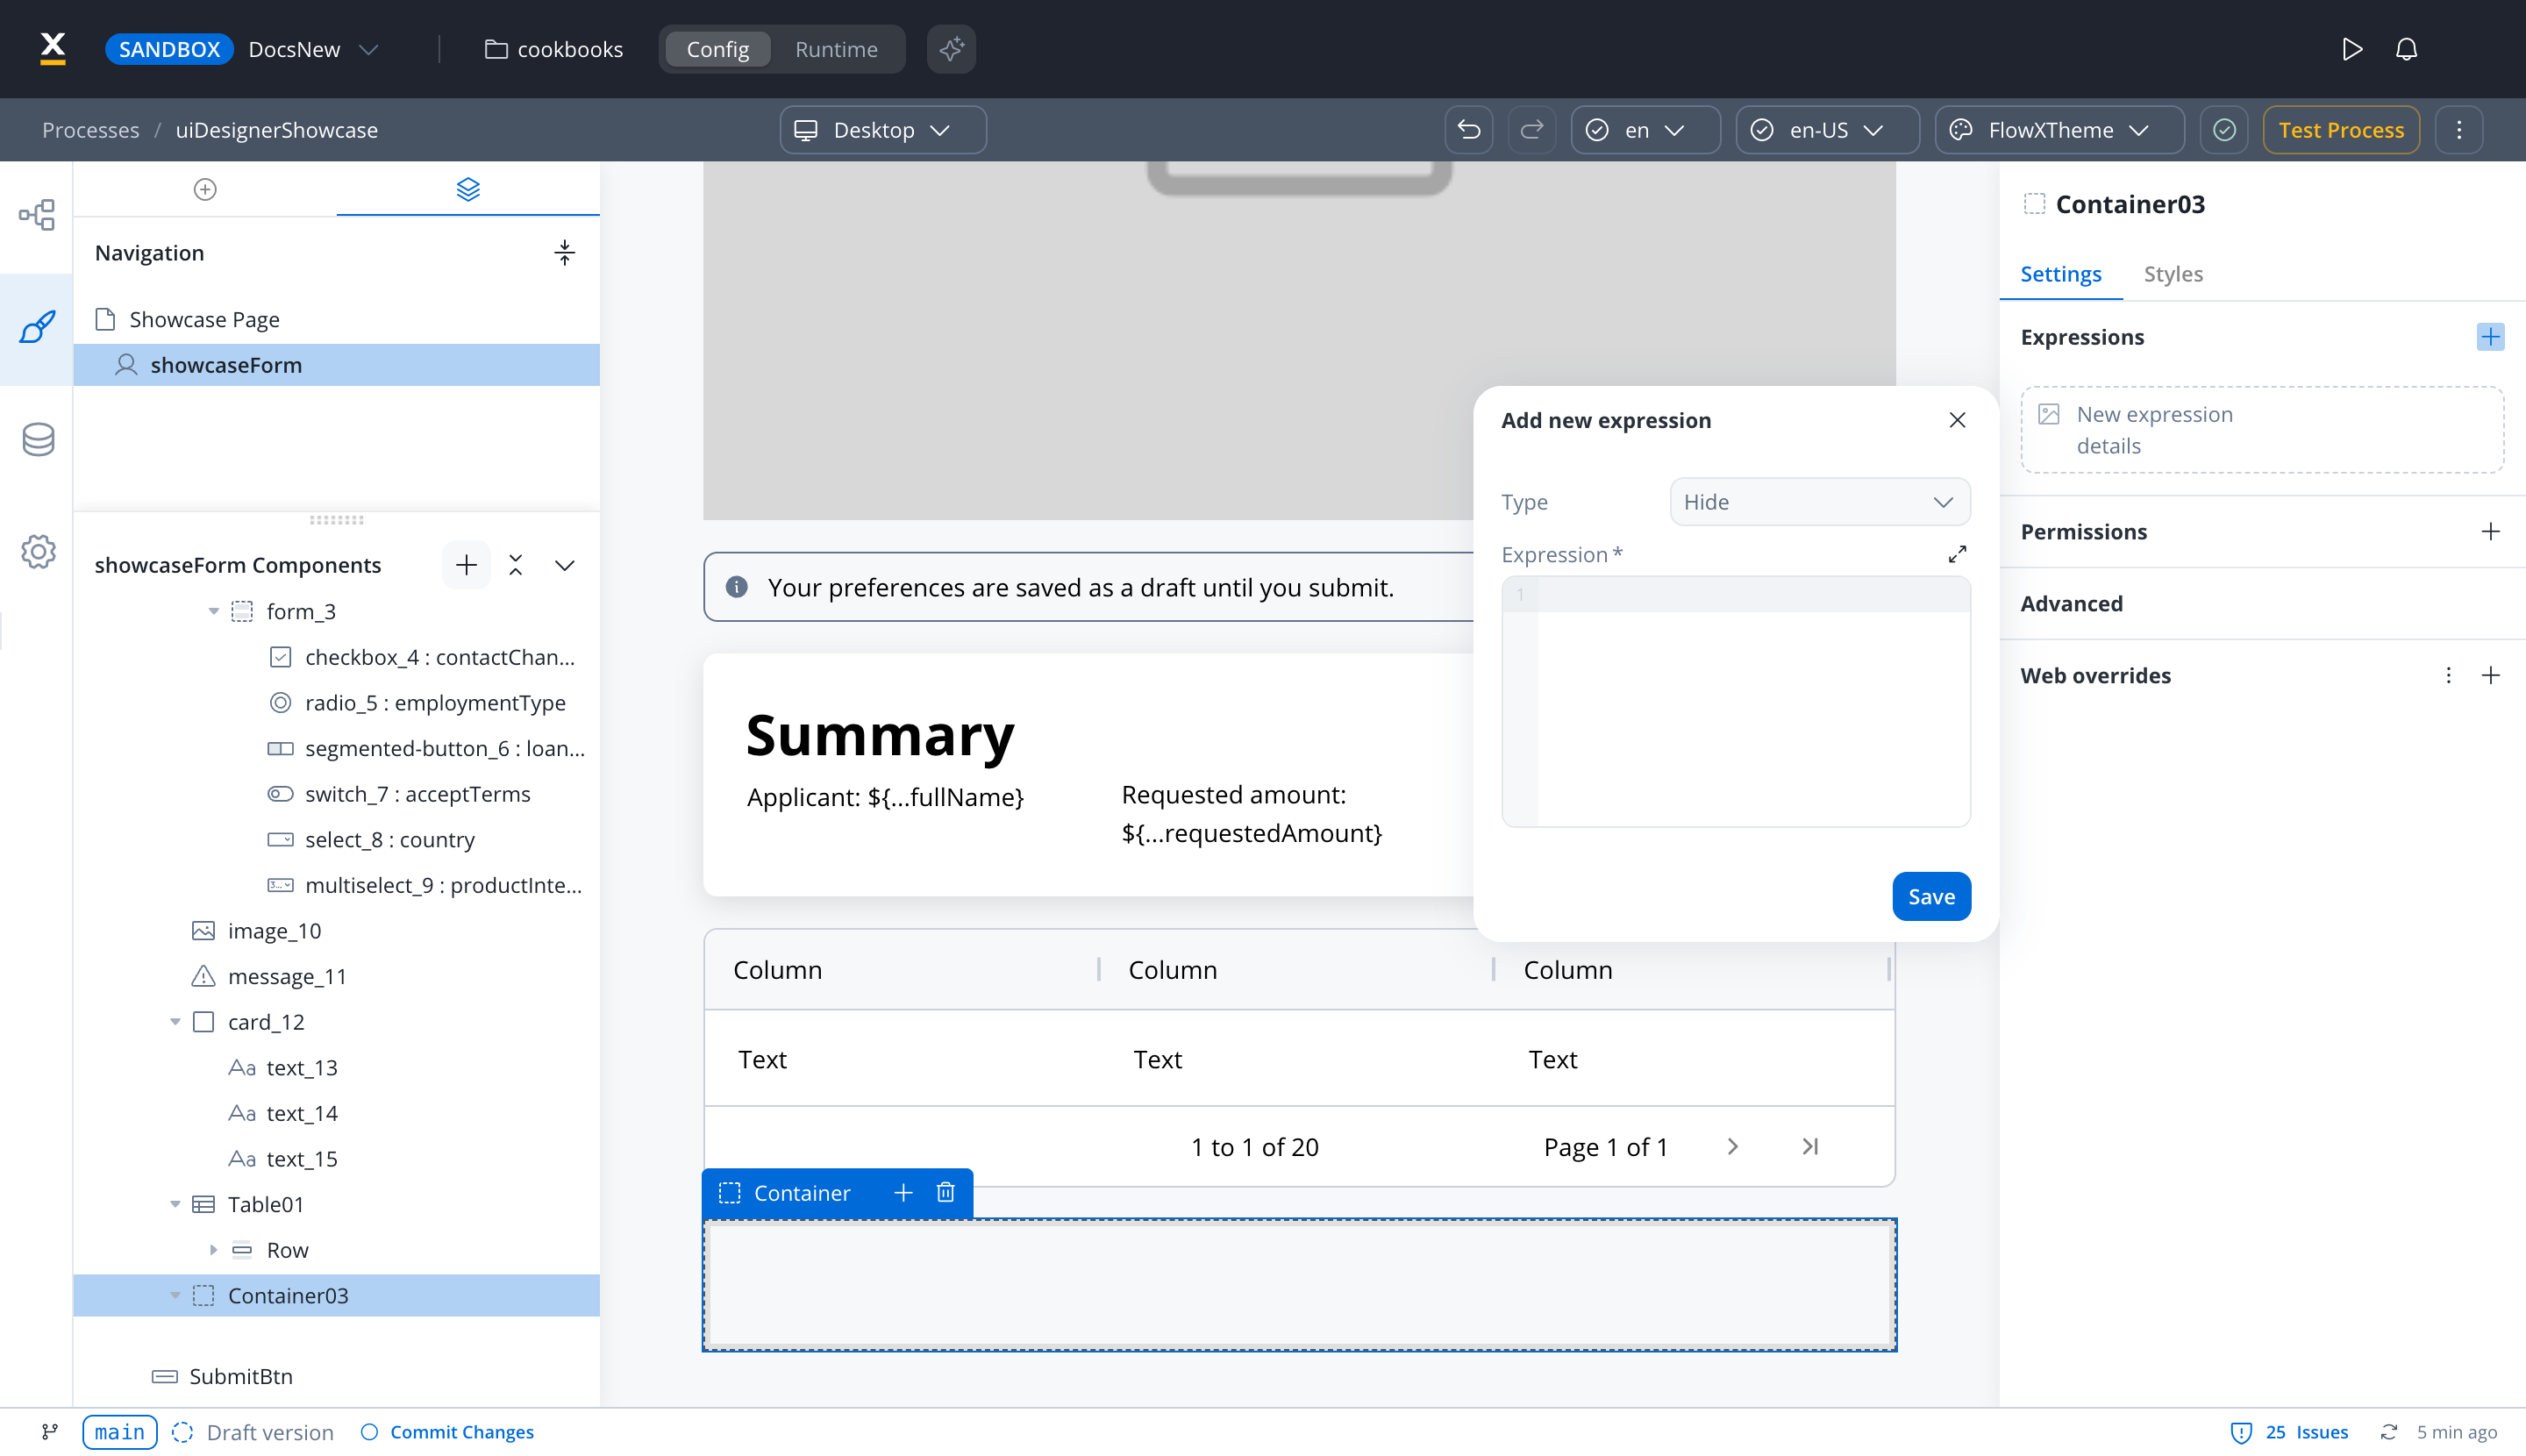 With containers, you gain the ability to structure your UI elements efficiently, enhancing the overall design and usability of your application.
There is no fixed maximum number of containers on a screen. For performance, limit component density and nesting depth as described in the screen configuration guide.
Container settings overrides
You may want to override settings configured in the Generic tab to be displayed differently on mobile devices.- Hide expressions: Use Overrides in the Settings tab to hide a container on a specific platform.
For instance, you can set a container to appear on all platforms, or create an override to hide it on mobile but show it on web.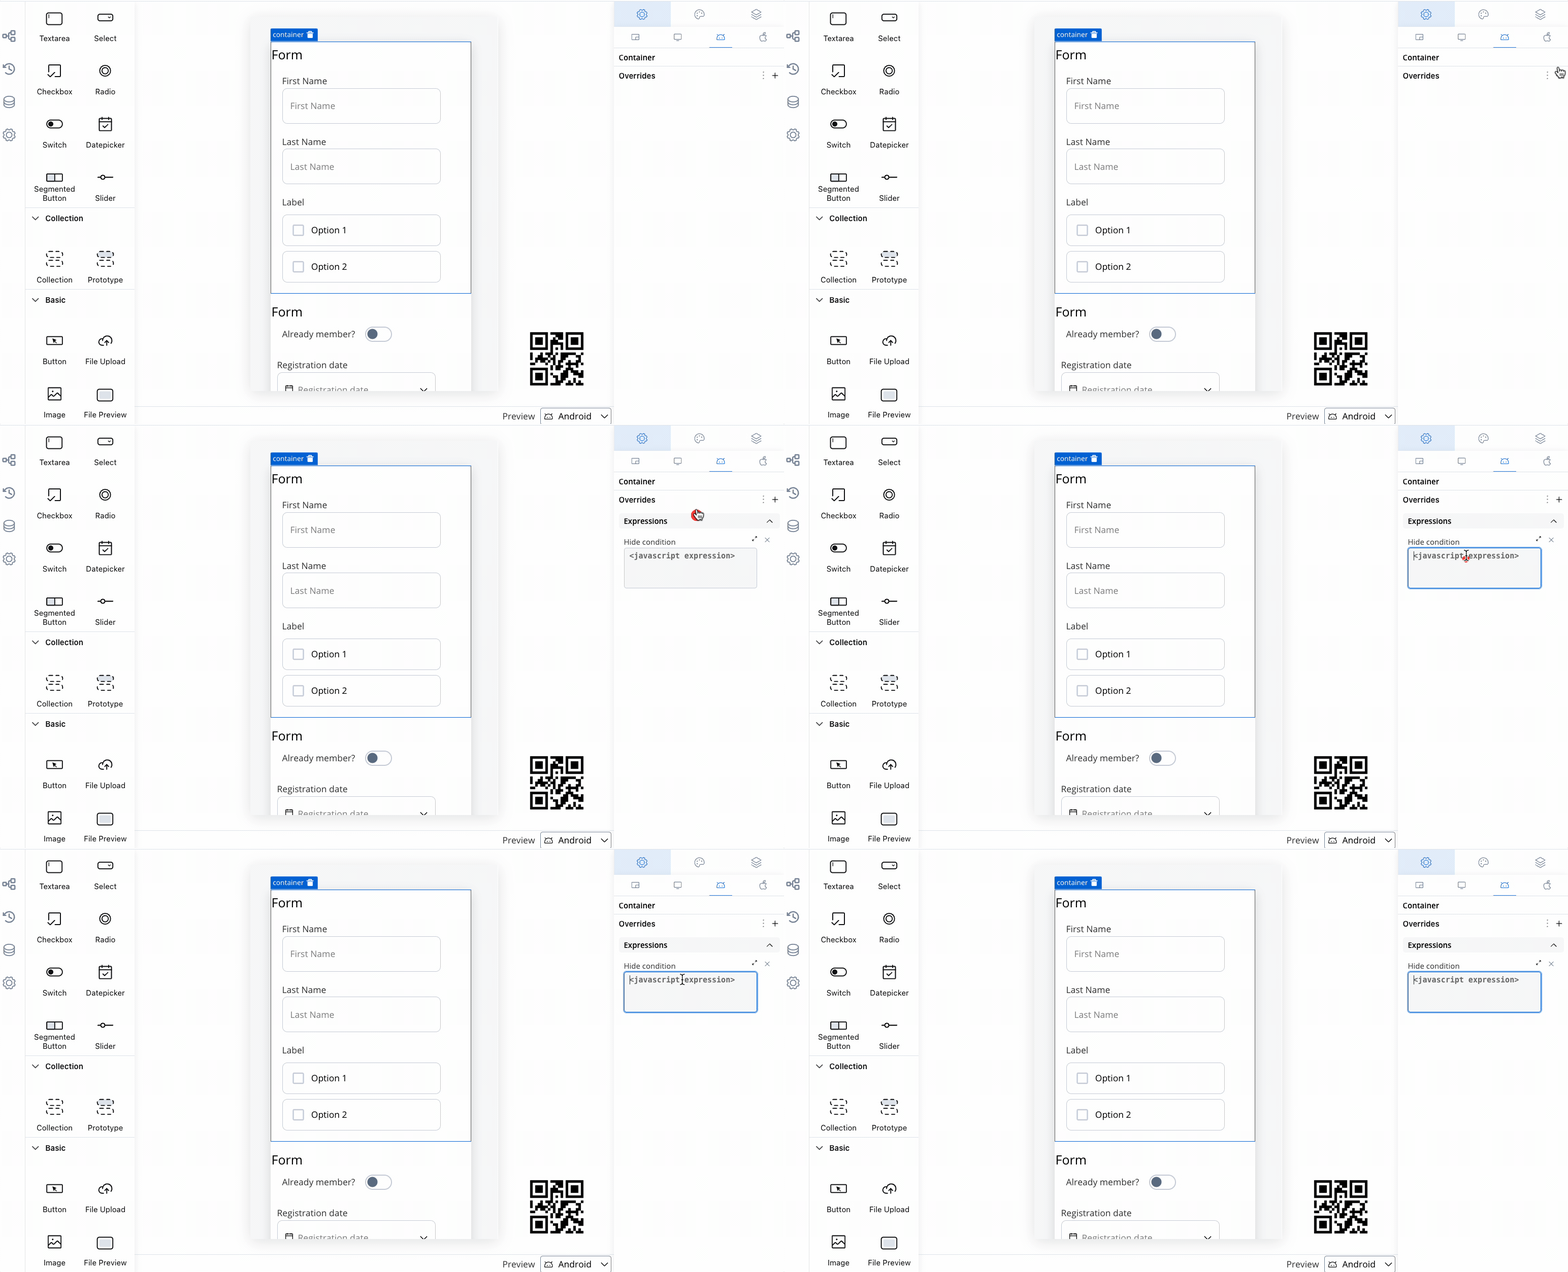
- Select a Container element in the UI Designer and pick the platform in the platform selector in the header. In the Settings tab, find the overrides section for that platform (for example, Web overrides), click +, then choose Expressions > Hide.
- Add your JavaScript Hide condition.
Styling
- Web
- iOS
- Android
- Layout
- Sizing
When designing for the web, consider the layout options available for the container. These options include: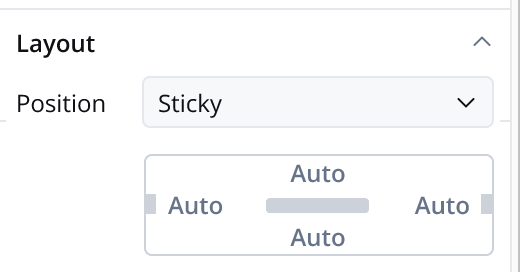
- Position
- Static (default): The container stays in the normal page flow and scrolls with the content.
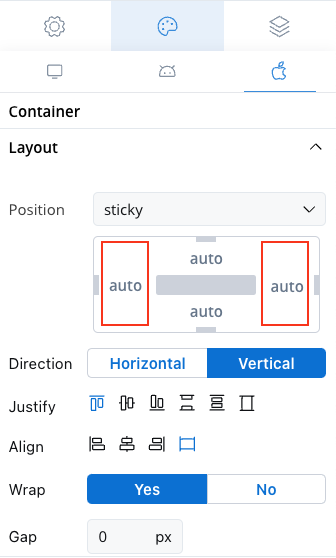
- Sticky: When the sticky property is enabled, the container maintains its position even during scrolling.
- Sticky layout: You have the option to specify minimum distances between the container and its parent element while scrolling. At runtime, sticky containers will keep their position on scroll relative to top/ bottom/ right/ left margin of the parent element.
- Display: Choose Linear to arrange children with the Direction, Justify, Align, Wrap and Gap options below, or Grid to arrange them in columns. See Grid layout.
- Direction: Choose between Horizontal or Vertical alignment to define the flow of components. For example, select Horizontal for a left-to-right layout.
- Justify: Aligns children along the main axis (horizontal when Direction is Horizontal, vertical when it is Vertical). Options: start, center, end, space between, space around, and space evenly. On iOS and Android: start, center, and end.
- Align: Aligns children along the cross axis. Options: start, center, end, and stretch. On iOS and Android: start, center, and end.
- Wrap: Enable wrapping to automatically move items to the next line when they reach the end of the container. Useful for creating multi-line layouts.
- Gap: Define the space between components to control the distance between each item. Adjusting the gap enhances visual clarity and organization.
Theme overrides
Customize the appearance by overriding style options coming from your default theme. Available overrides:- Border Width
- Border Radius
- Border Color
- Background Color
- Shadow